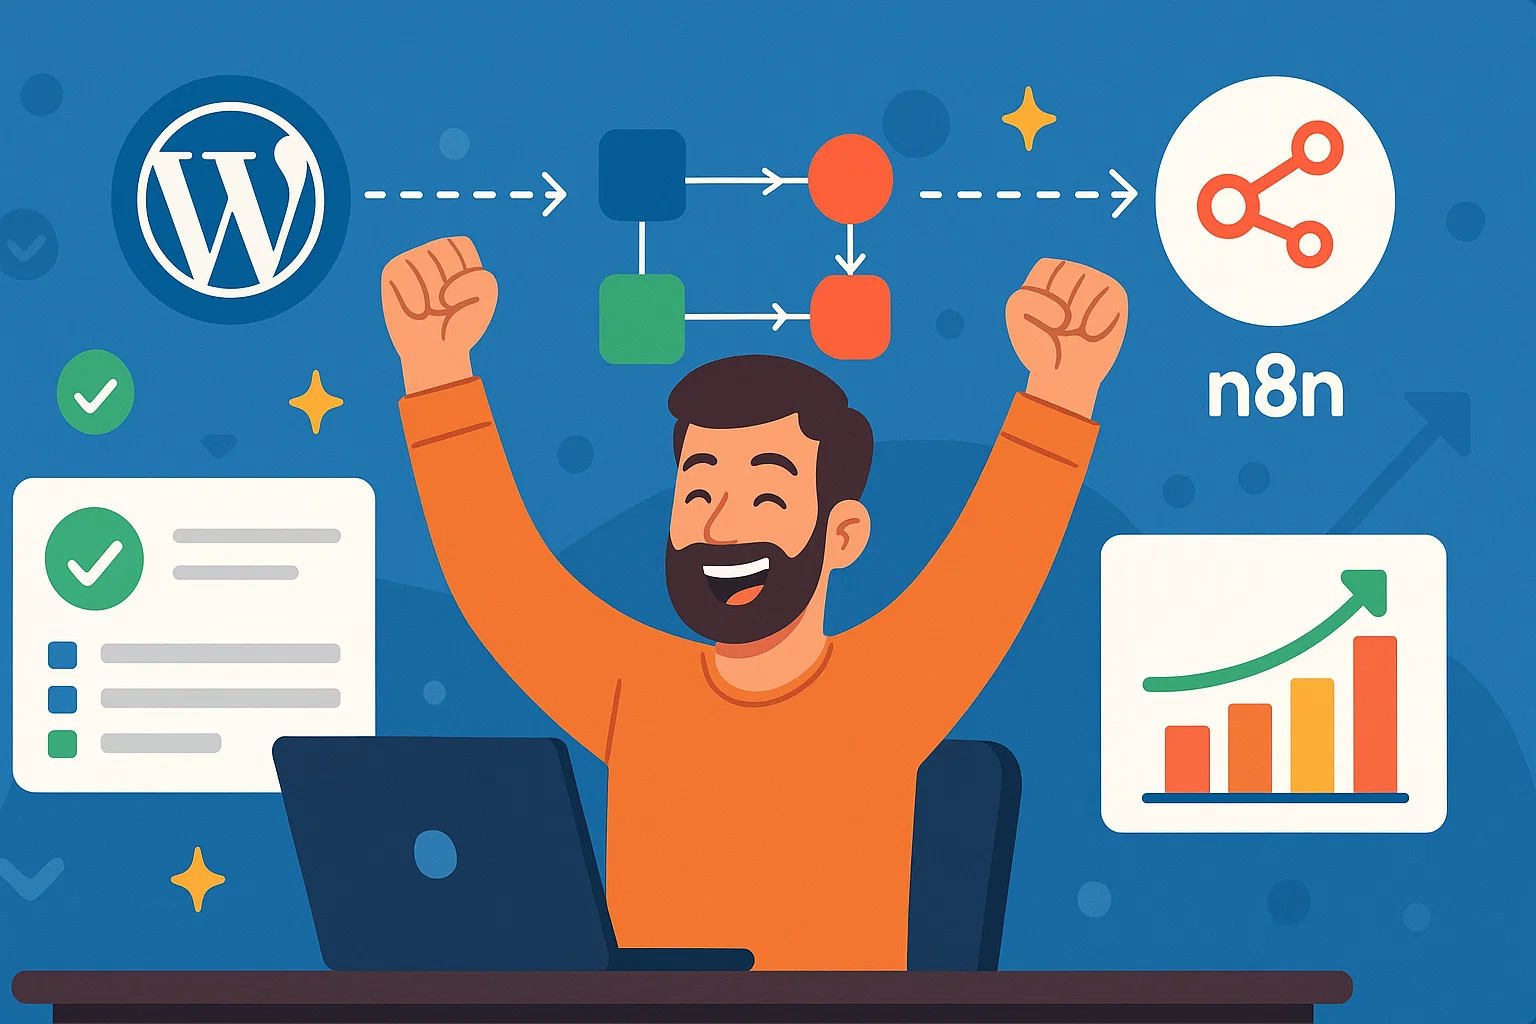
Connecting WordPress to n8n was one of the best moves I’ve ever made to streamline my workflow. Honestly, before discovering n8n, automating WordPress tasks felt complicated and intimidating. Now, everything is simplified, automated, and stress-free. Let me walk you through exactly how I made this happen.
Step 1: Understanding What n8n Does
n8n is basically my go-to open-source automation platform. Think of it as “Zapier,” but more customizable (and free!). I use it for automating pretty much everything—from form submissions to updating content automatically. So, connecting it with my WordPress site felt like a natural next step.
Step 2: Preparing WordPress for n8n Integration
First, I needed to ensure my WordPress website was ready for external connections. Here’s what I did:
-
Logged into my WordPress admin.
-
Installed and activated the WP REST API Authentication plugin, which helps securely handle connections from external apps like n8n.
-
Set up an application password for secure access (WordPress Dashboard → Users → Profile → Application Passwords).
With this simple setup, WordPress was ready to connect securely.
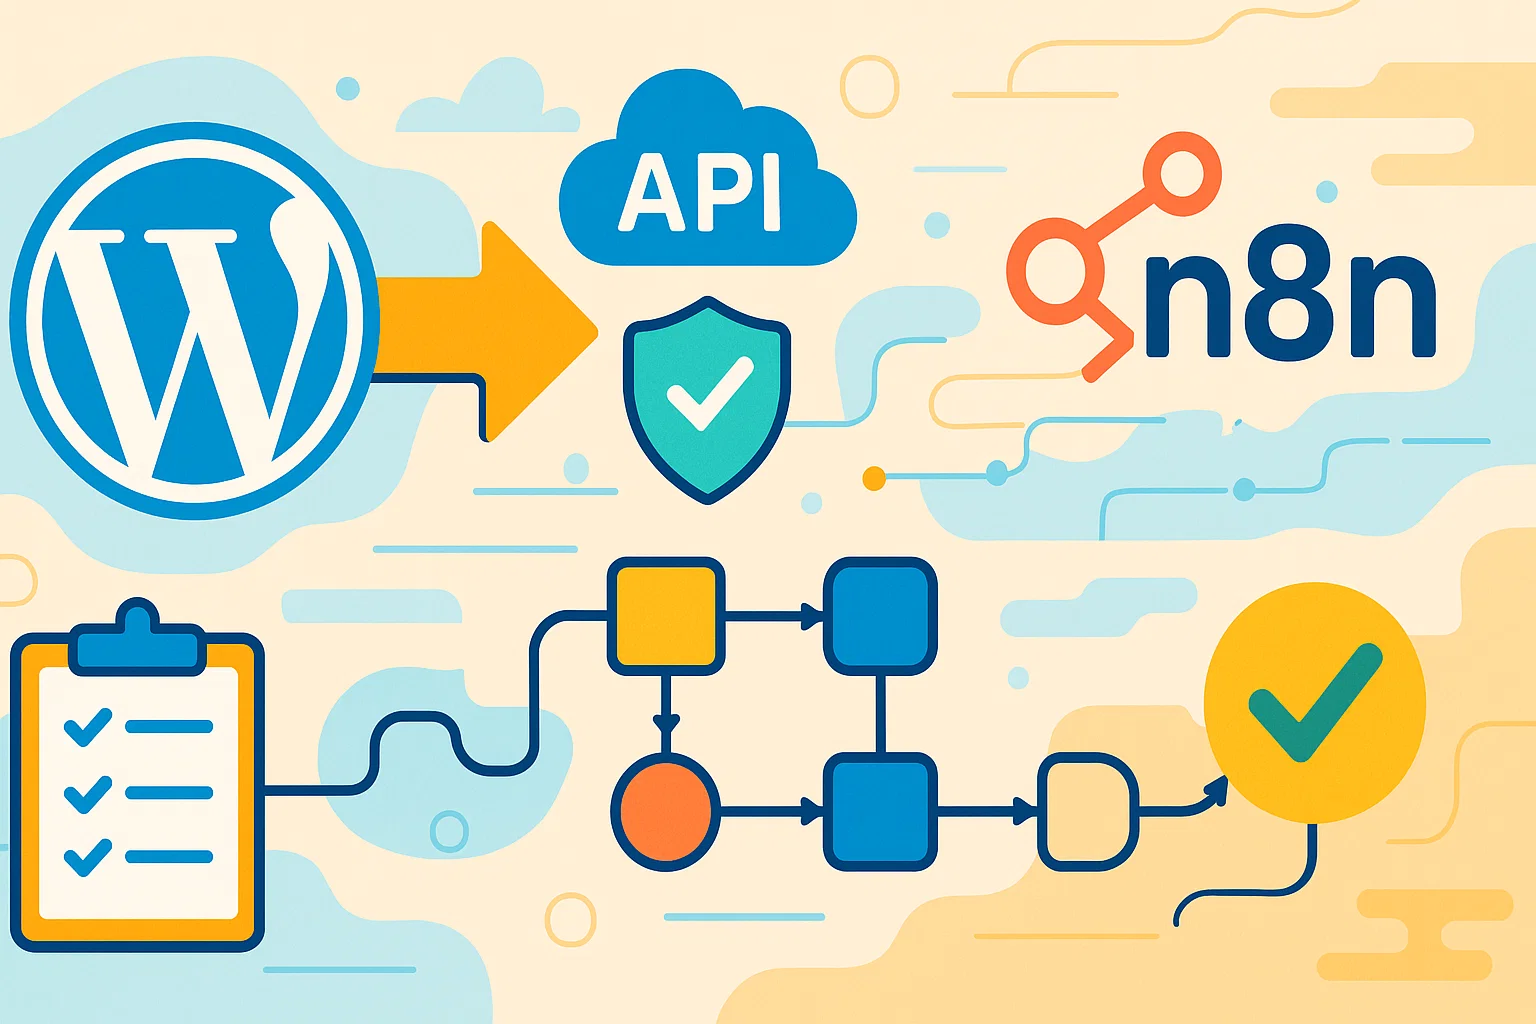
Step 3: Configuring n8n to Talk with WordPress
This step was surprisingly straightforward. Here’s the exact workflow I created in n8n:
-
Opened n8n and created a new workflow.
-
Added an HTTP Request node, entering my WordPress REST API URL (
https://yourdomain.com/wp-json/wp/v2/) along with my admin username and the application password I created earlier. -
Tested this connection—seeing a green checkmark felt great!
Step 4: Automating Tasks (My Favorite Part!)
Once connected, I set up automation that made my life way easier. Some quick examples I personally implemented are:
-
Automatically publishing new posts based on external triggers.
-
Capturing form submissions on my WordPress website and automatically syncing data to Google Sheets.
-
Creating auto-responses and follow-ups via email integration.
Each automation saved me countless hours of tedious work.
Troubleshooting Quick Tips:
If you encounter any connection issues (like I did initially!), check these:
-
Double-check your URL: Make sure it matches your exact REST API endpoint.
-
Verify permissions: Ensure your WordPress user role has adequate permissions.
-
Plugin conflict: Temporarily disable plugins one-by-one if you experience odd behaviors.
Final Thoughts:
Connecting WordPress with n8n transformed my productivity completely. It’s intuitive, powerful, and surprisingly easy once you know how. If you’ve been hesitating, trust me—it’s worth the time investment!