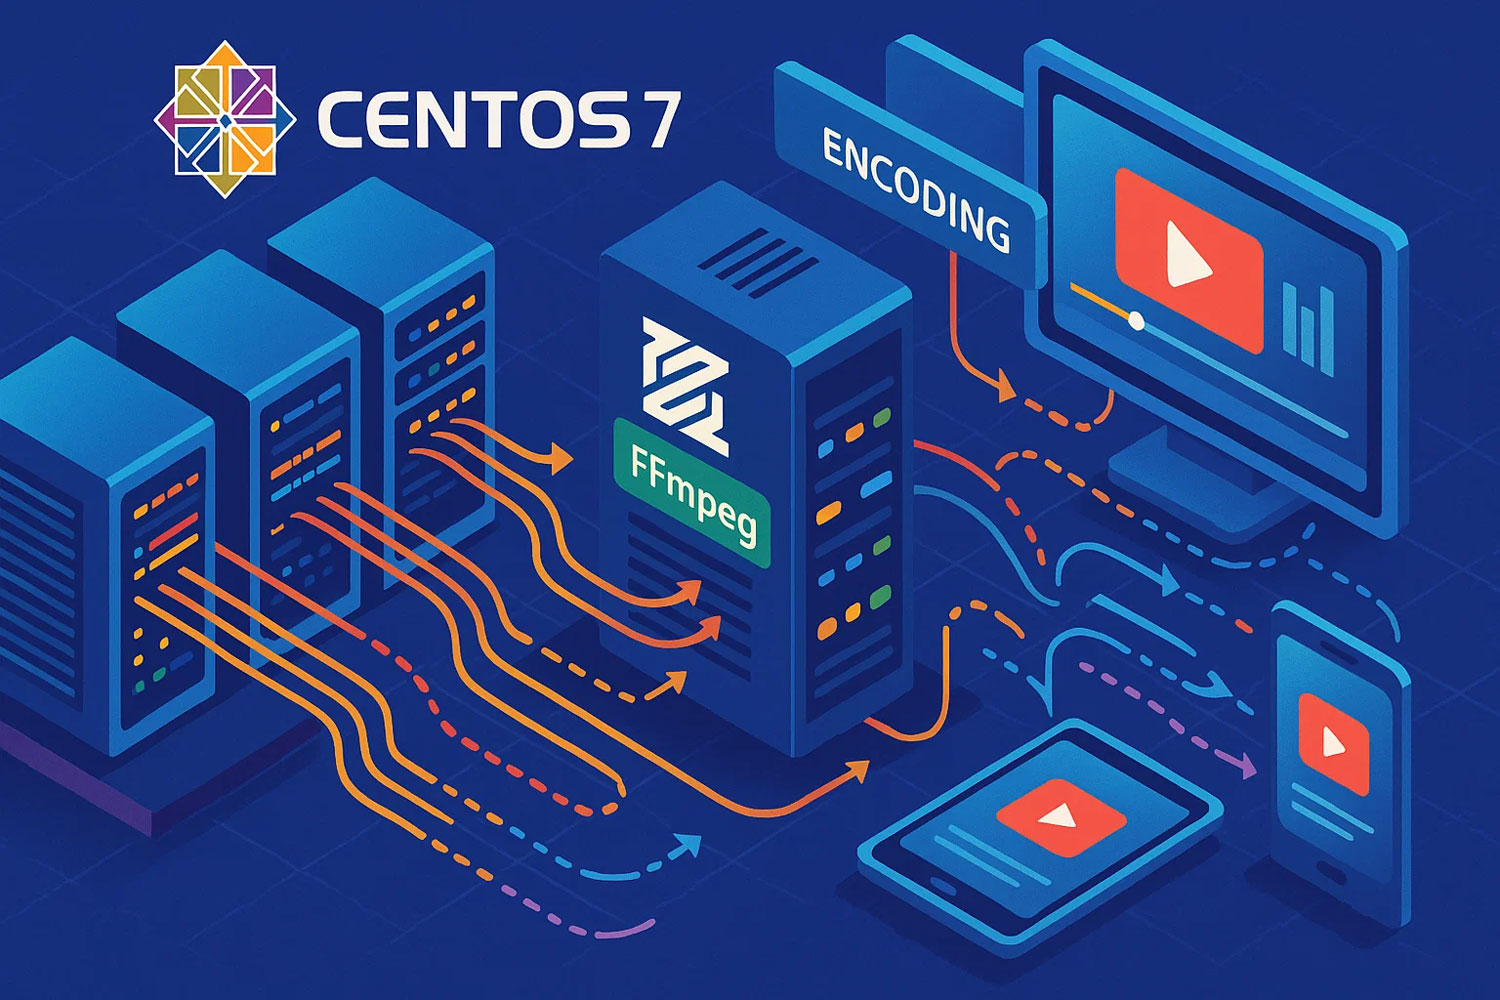
If you’re building a multimedia server or working with video streaming in 2025, FFmpeg is an absolute must-have. Known for its powerful video/audio encoding, decoding, and streaming capabilities, FFmpeg remains the top tool for developers and media professionals. Here’s how you install it quickly and reliably on CentOS 7, one of the most stable production environments today.
📌 Step 1: Update Your CentOS System
First things first—make sure everything is up-to-date.
📌 Step 2: Install the EPEL and RPM Fusion Repositories
You’ll need access to third-party repositories. Install them with:
📌 Step 3: Install FFmpeg on CentOS 7
Once repositories are enabled, you’re ready to install FFmpeg:
📌 Step 4: Verify Your Installation
To confirm FFmpeg installed correctly, check the version:
You should see output similar to:
📌 Step 5: Basic FFmpeg Test
Perform a quick test by converting a short video file to another format (replace input.mp4 and output.avi with your filenames):
If you see output without errors, congratulations! FFmpeg is ready.
🚨 Troubleshooting Tips:
-
“command not found”? Ensure FFmpeg installed correctly, and consider rebooting your system or running:
-
Dependency issues? Check repository installations and retry the install command.
✨ What’s Next?
Now that FFmpeg is up and running, explore its vast capabilities—video transcoding, streaming setups, audio extraction, and even automated multimedia processing tasks. The sky is the limit!
Stay tuned to FoxDooTech for more tips on server setup and multimedia toolkits.