Whether you’re a developer, an aspiring sysadmin, or just a curious tech enthusiast, building your own server is one of the most rewarding projects you can take on. It’s not only a great way to sharpen your skills in Linux, networking, and system architecture—but it also gives you full control over your data and digital environment.
Why Set Up Your Own Server?
Setting up your own server might sound intimidating, but here’s why it’s worth the effort:
-
You Own Your Data – No more relying on third-party services
-
Learn by Doing – Hands-on experience with real-world infrastructure
-
Custom Flexibility – Run exactly the services you need, nothing more
-
Cost-Effective – Especially compared to ongoing cloud hosting fees
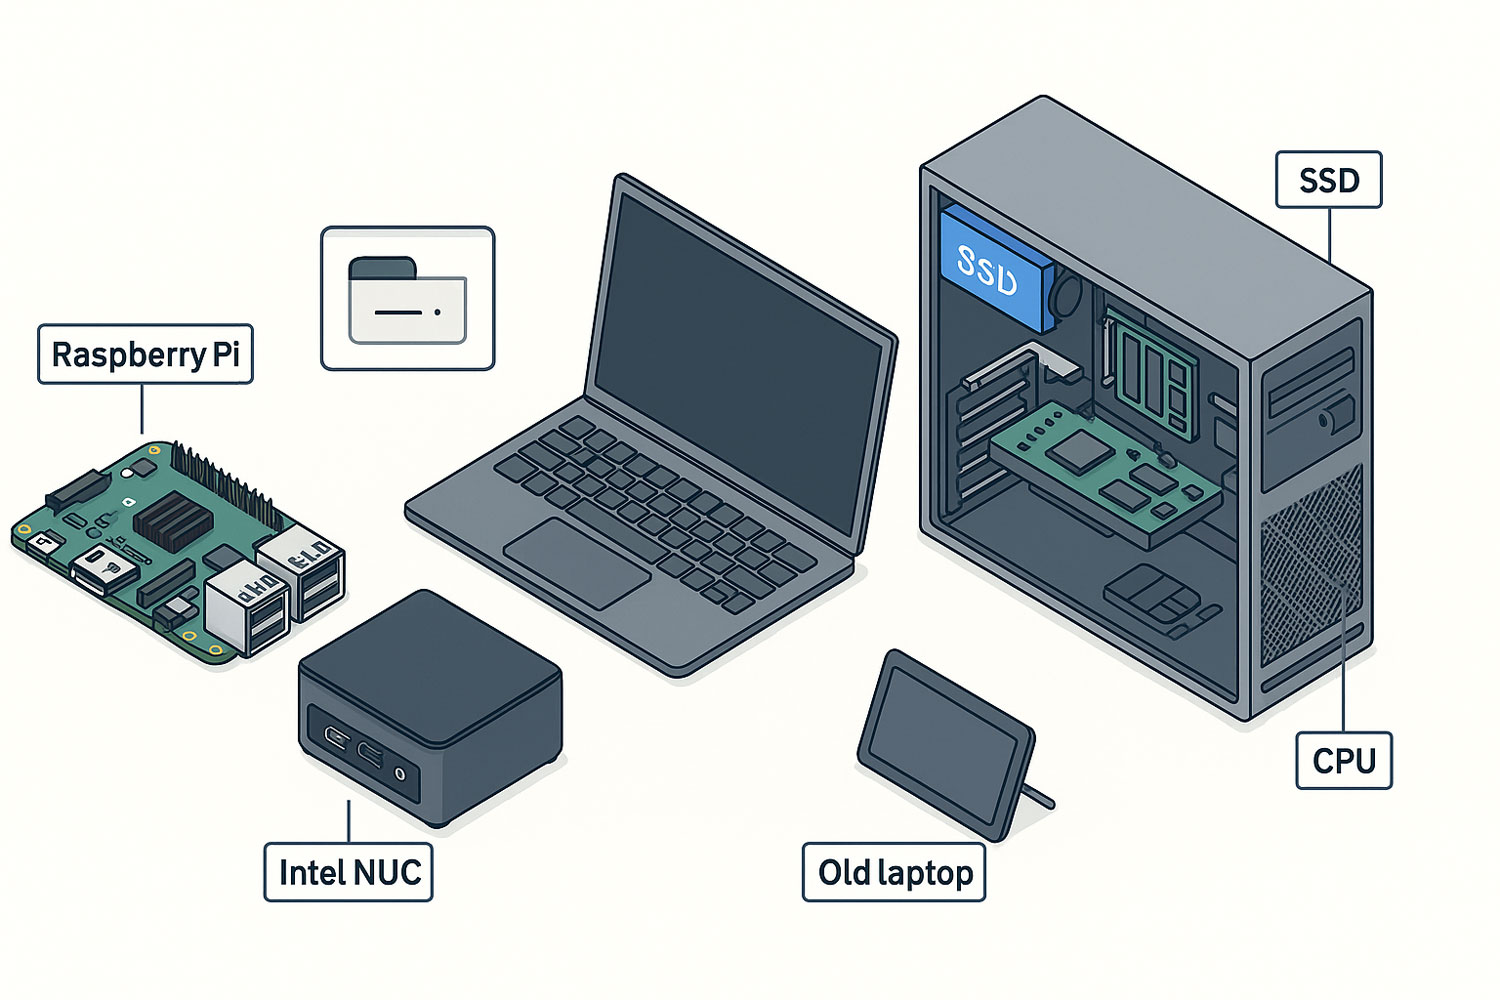
Step 1: Choose Your Hardware
You don’t need a high-end machine. A modest setup will do just fine to get started:
-
CPU: Dual-core or better
-
RAM: Minimum 4GB (8GB recommended)
-
Storage: SSD for faster performance
-
Network: Wired Ethernet preferred over Wi-Fi
Popular beginner setups:
-
An old laptop or desktop
-
Raspberry Pi 4
-
Intel NUC or similar mini PCs
-
A budget-friendly VPS (e.g., Linode, DigitalOcean)
Step 2: Pick an Operating System
The most beginner-friendly and widely used server OS is Ubuntu Server LTS. It’s well-documented, community-supported, and easy to install.
Other options:
-
Debian – Rock-solid and minimalist
-
Rocky Linux – Ideal if you’re exploring the Red Hat ecosystem
-
Proxmox VE – Great for virtualization and home labs
-
TrueNAS Core – Perfect for network-attached storage setups
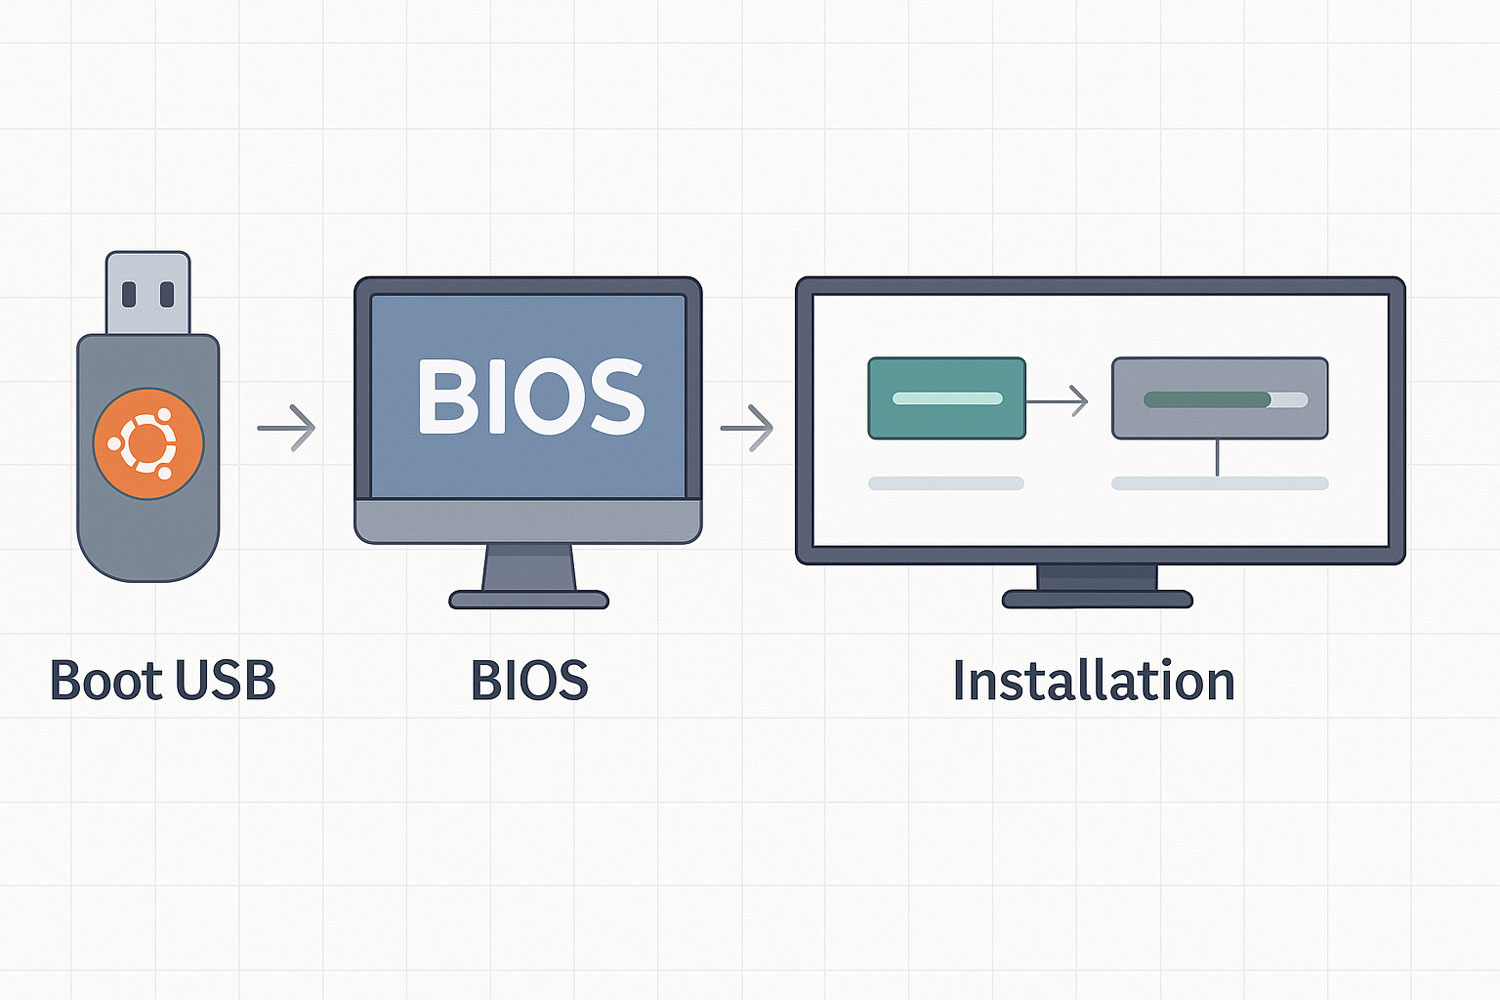
Step 3: Install and Configure the Server
-
Download ISO & Create Bootable USB – Use Rufus or balenaEtcher
-
Install OS – Choose basic install, no desktop GUI
-
Network Configuration – Set static IP if needed (via Netplan)
-
Enable SSH – So you can manage it remotely
-
Update System:
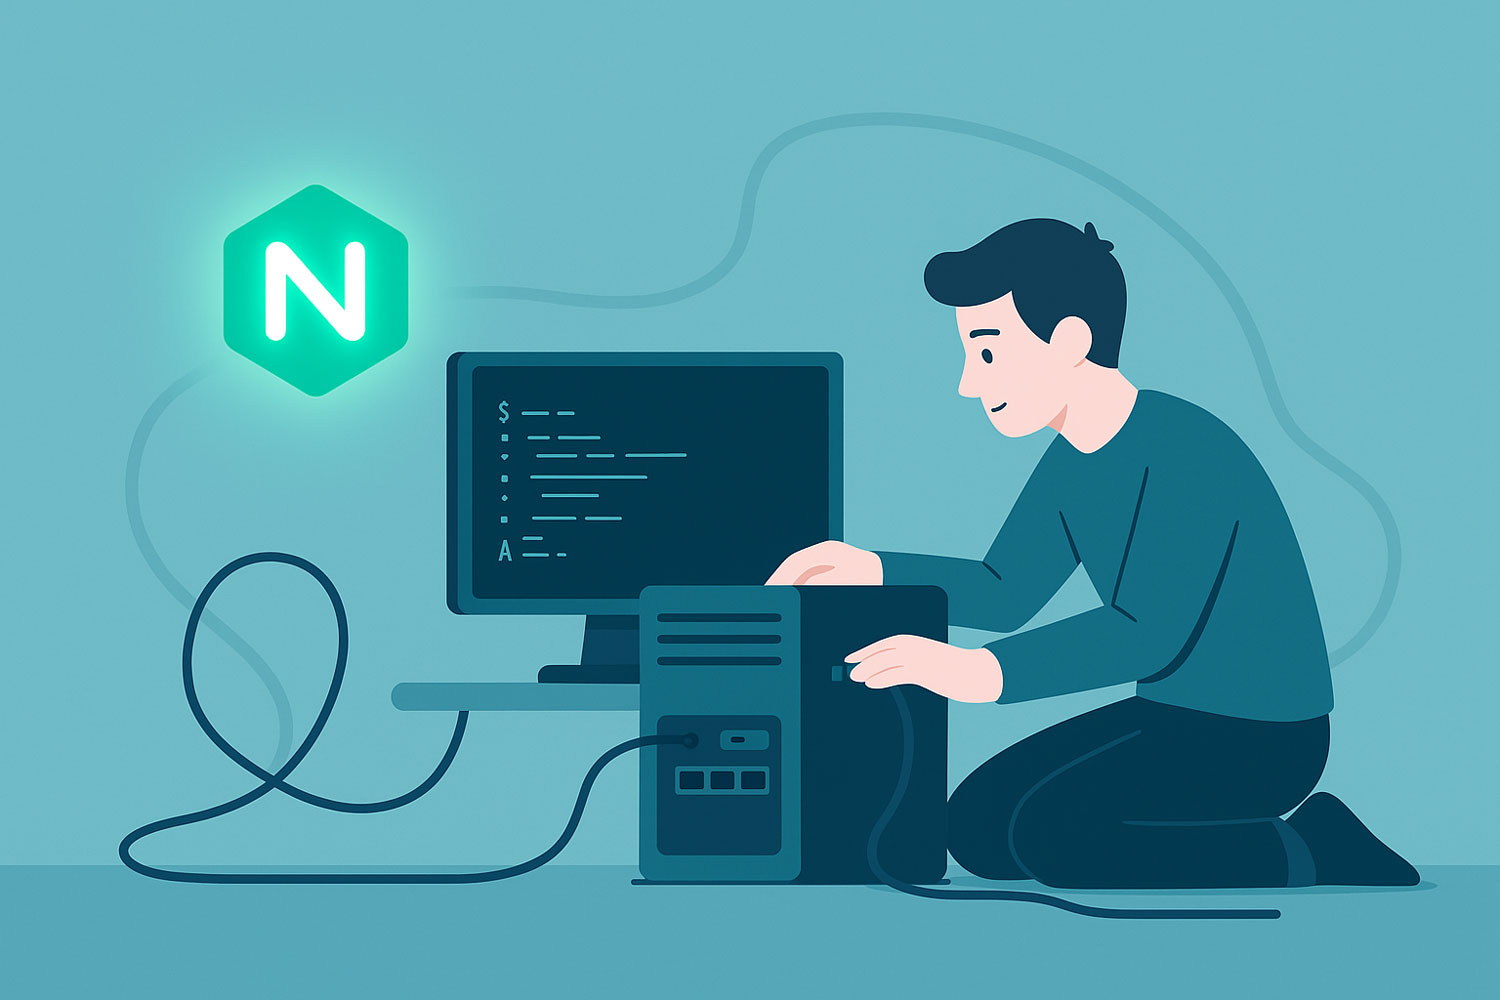
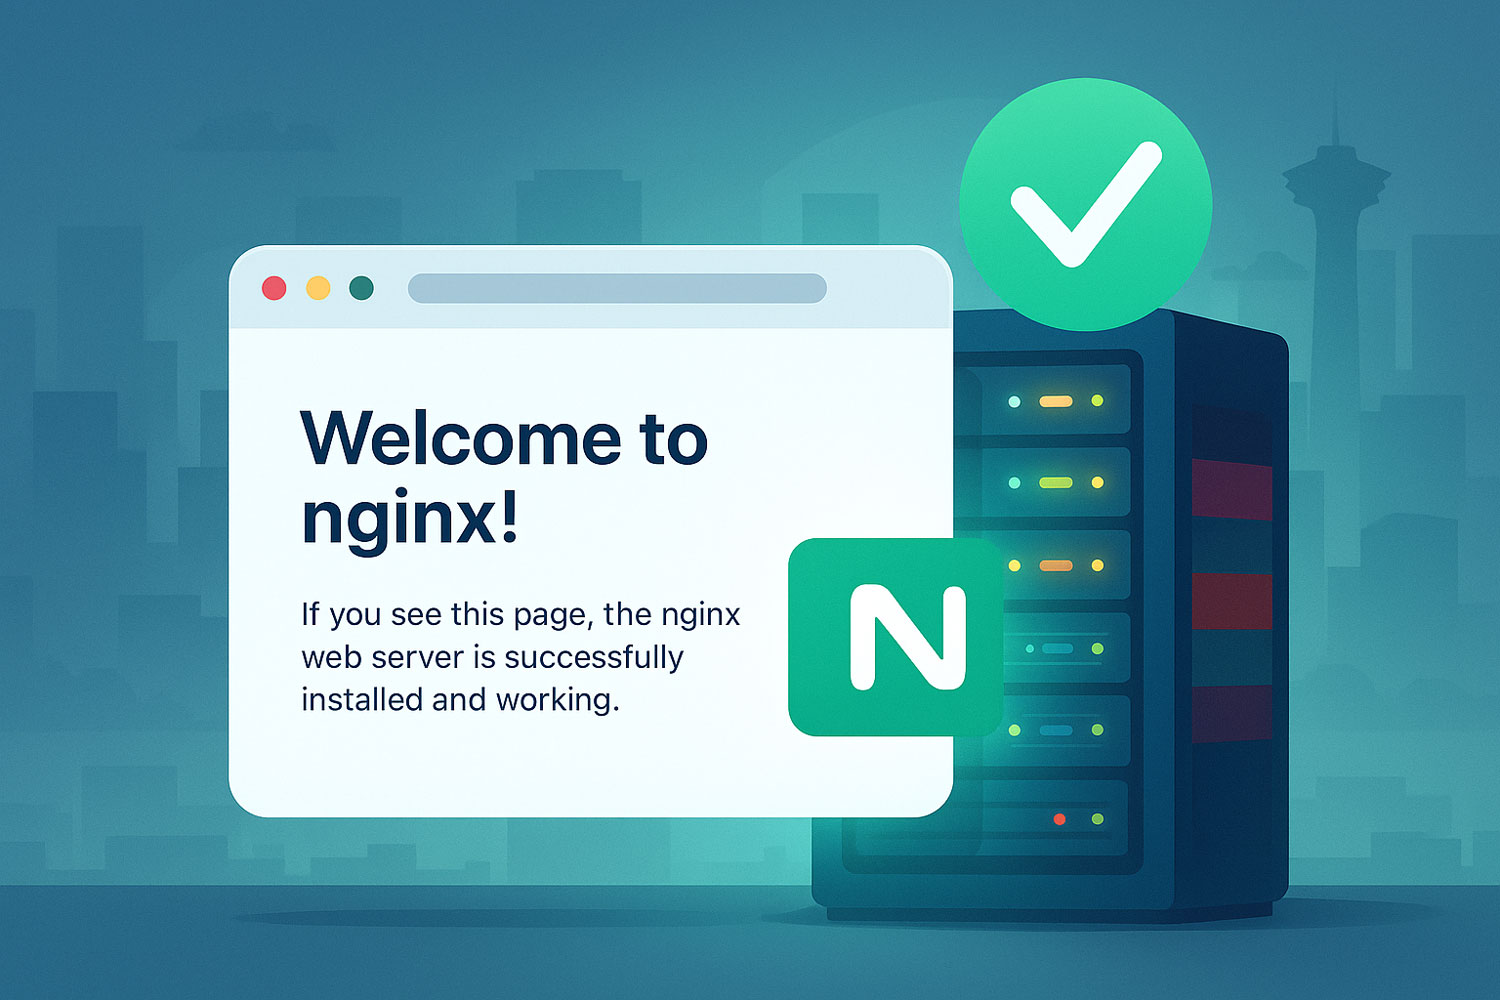
Step 4: Deploy a Simple Service (Example: Nginx Web Server)
To test your setup, start with a simple web server:
Now, visit your server’s IP in a browser. If you see the Nginx welcome page—congrats, your server is live!
Step 5: Level Up Your Setup
-
Use a Domain Name – Point it to your public IP or dynamic DNS
-
Enable HTTPS – Install Certbot and get a free SSL cert from Let’s Encrypt
-
Secure Your Server – Set up a firewall using
ufw: -
Automate Backups – Use
rsync,cron, or tools like Duplicati -
Explore Docker – Perfect for deploying self-hosted apps like Nextcloud or Ghost
Bonus Tools for Beginners
-
Cockpit – Web-based GUI for server management
-
Netdata – Real-time monitoring dashboard
-
Portainer – GUI for managing Docker containers
-
Syncthing – Secure file sync across devices
Final Thoughts
Don’t wait for the “perfect” moment or gear—just get started. Your first server might be rough, but it’ll teach you more than hours of tutorials ever could. As you grow, so will your infrastructure skills. And who knows? Maybe this is your first step toward a DevOps career or building your own homelab empire.