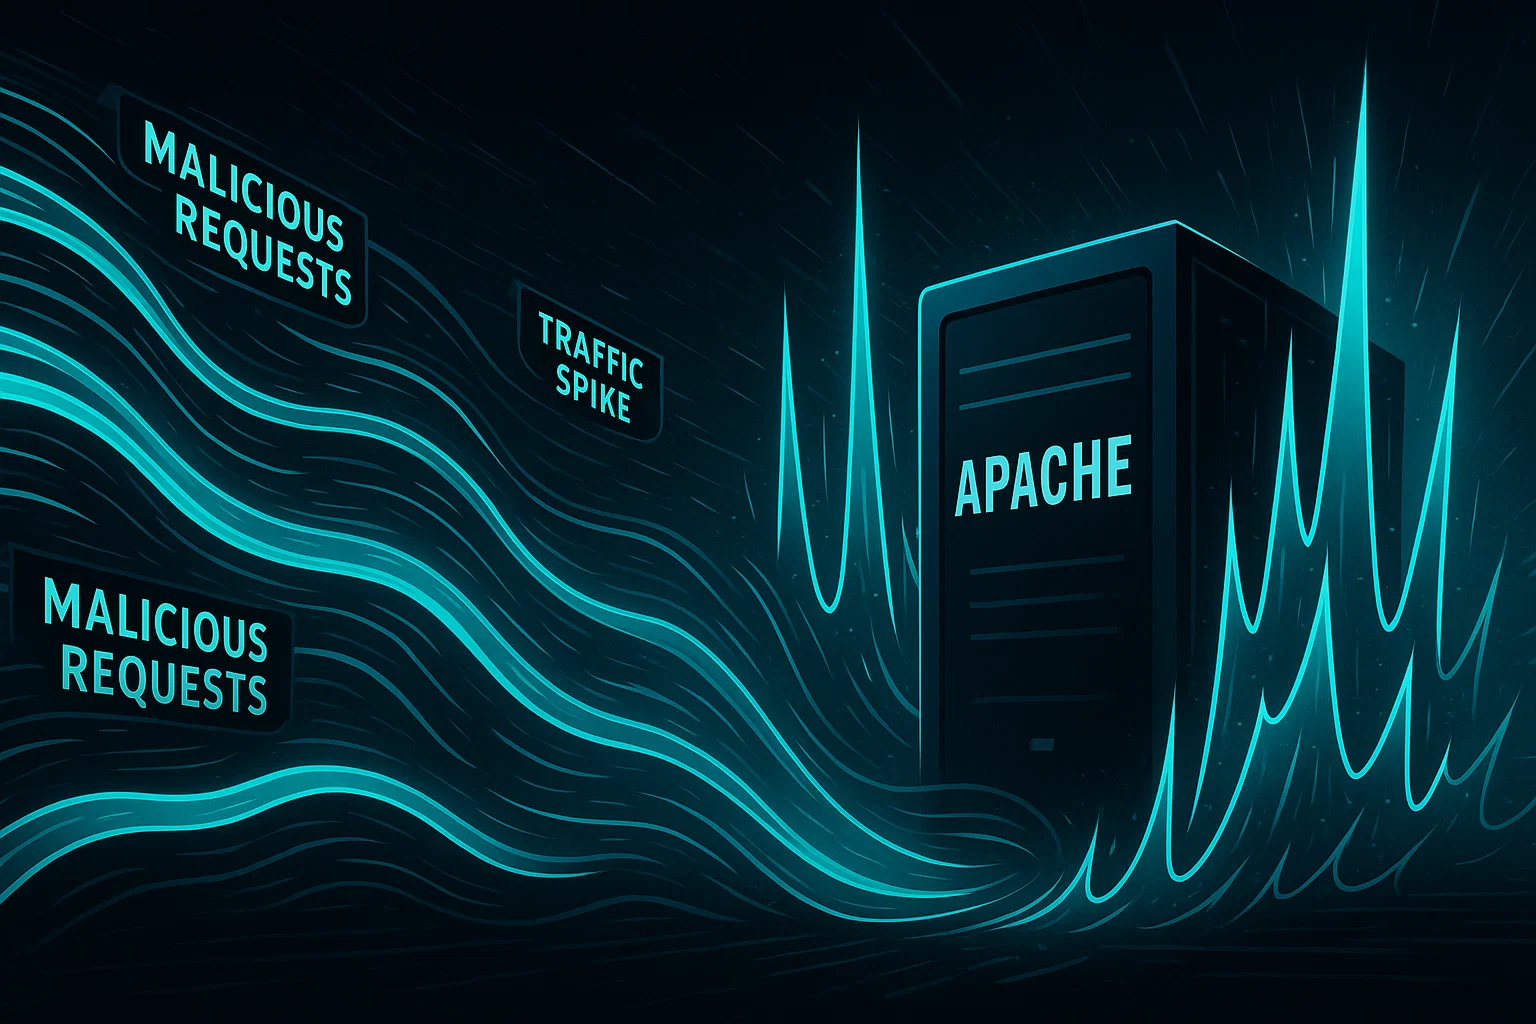
One day last week, I woke up to a nightmare scenario: our company’s Apache server had slowed to a crawl, and within minutes it was clear we were under a Distributed Denial of Service (DDoS) attack. Having faced this situation before, I knew immediately what I needed to do. Here’s exactly how I handled it, step-by-step, to not only stop the attack but to make sure it wouldn’t happen again.
Step 1: Identifying the Attack
The first thing I did was to verify that it was indeed a DDoS attack. I logged into our Apache server and checked the server logs using:
tail -n 100 /var/log/apache2/access.logI noticed a massive flood of repeated requests from suspicious IP addresses targeting the same URLs. Clearly, this was a classic DDoS scenario.
Step 2: Immediate Mitigation (Blocking IPs with Firewall)
Since the attack was ongoing, I acted swiftly to temporarily block the offending IP addresses using iptables. Here’s exactly how I did it:
sudo iptables -A INPUT -s <attacker_ip_address> -j DROPSince attackers use multiple IPs, I automated the blocking of IP addresses with high request rates by installing and configuring fail2ban:
sudo apt install fail2ban -yI then created a custom jail for Apache in /etc/fail2ban/jail.local:
[apache-ddos]
enabled = true
port = http,https
filter = apache-auth
logpath = /var/log/apache2/access.log
maxretry = 100
findtime = 60
bantime = 3600
Then restarted fail2ban:
sudo systemctl restart fail2banThis quickly and effectively reduced the load on our server.
Step 3: Installing and Configuring Mod_Evasive
To improve long-term security, I installed the Apache module mod_evasive, designed specifically to handle DDoS attacks:
sudo apt install libapache2-mod-evasive -yI then edited its configuration file /etc/apache2/mods-enabled/evasive.conf:
<IfModule mod_evasive20.c>
  DOSHashTableSize    2048
  DOSPageCount        20
  DOSSiteCount        50
  DOSPageInterval     1
  DOSSiteInterval     1
  DOSBlockingPeriod   10
  DOSEmailNotify      [email protected]
</IfModule>
This setup allows Apache to dynamically block IP addresses making excessive requests, significantly improving resilience.
Restart Apache to apply changes:
sudo systemctl restart apache2Step 4: Using Cloudflare as External Protection
Recognizing that internal measures alone might not fully suffice, I implemented external DDoS protection by signing up for Cloudflare’s free tier, routing traffic through their powerful infrastructure to filter attacks before they even reach our servers. It’s as simple as:
- Signing up at cloudflare.com.
- Adding our website and pointing the DNS to Cloudflare.
- Enabling the “I’m Under Attack” mode during peak threats.
This dramatically improved our external defenses immediately.
Step 5: Optimizing Apache Configuration for Security
Finally, I reviewed and adjusted Apache’s main security configurations to improve resistance against malicious traffic. I edited /etc/apache2/apache2.conf, adding these lines:
Timeout 60
KeepAlive On
MaxKeepAliveRequests 100
KeepAliveTimeout 5
LimitRequestBody 512000
These settings help Apache handle requests more efficiently and safely.

What I Learned and Final Recommendations:
Having your Apache server attacked by DDoS is stressful, but knowing exactly what to do made all the difference. I now regularly:
- Monitor Apache logs proactively.
- Ensure fail2ban and mod_evasive remain active and updated.
- Maintain Cloudflare as an external defense layer.
Following these steps helped me not only stop the immediate attack but also significantly improved our ongoing server protection. If you manage an Apache server, these tips could save you hours of downtime!