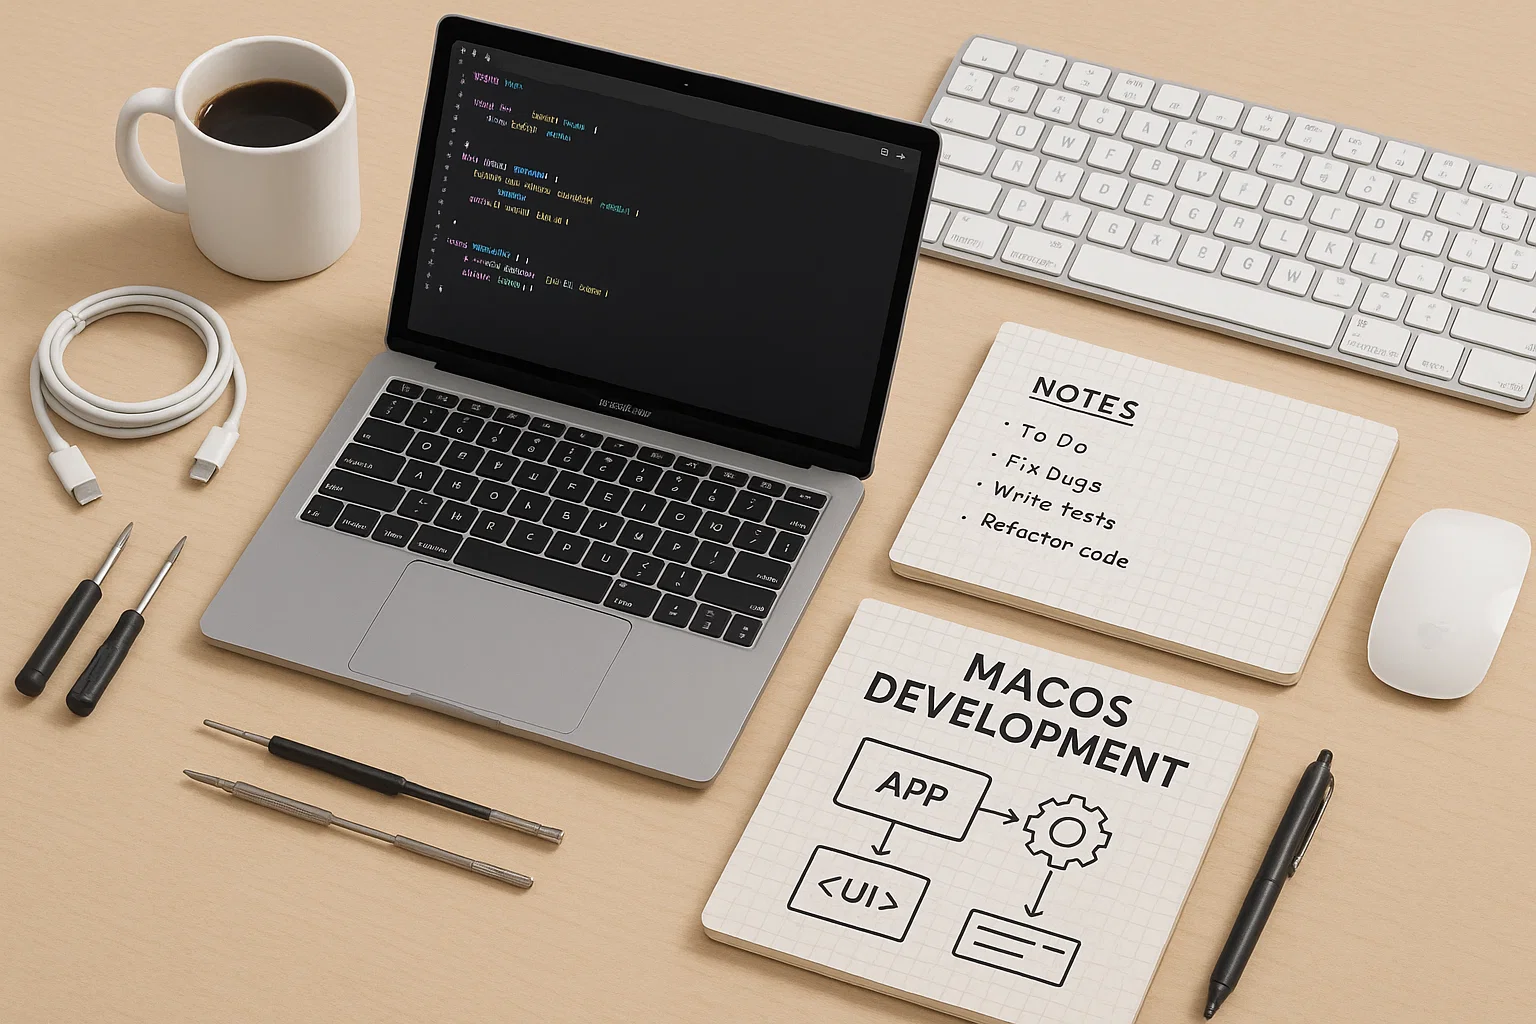
Mac development environment setup can either be a runway or a maze. I learned that the messy way—new M‑series Mac, new client, late Thursday night. I had exactly one evening to get a backend service compiling, a React app hot‑reloading, and a test database seeded. Two hours in, Docker decided it didn’t like ARM, my shell theme blinked like a Christmas tree, and Postgres refused to start. I took a breath, grabbed a marker, and wrote three words on a sticky note: “repeatable, minimal, fast.” What follows is the battle‑tested playbook that grew from that night and a dozen laptops since.
Who this is for (and the promise I’m making)
If you build web apps, APIs, mobile apps, data pipelines, or you wrangle infra on a Mac, this is for you. The promise: you’ll get a practical Mac development environment setup that balances speed with sanity—less yak‑shaving, fewer weird PATH conflicts, and a setup you can replay on a new machine without swearing at midnight. I’ll call out Apple silicon specifics, note Intel edge cases, and keep everything in plain English.
Hardware that won’t fight you
RAM matters more than people admit. Browsers, IDEs, containers, and language servers pile up like grocery bags on your forearms. For most devs, 32 GB is the sweet spot; if you run heavier containers (databases, multiple services, AI toolchains), 64 GB keeps the fans quiet and your patience intact. Storage? 1 TB keeps Docker layers, simulator images, and project histories breathing. External NVMe over TB4 is fine for archives, but the hot path should live on internal SSD for I/O bursts during compiles.
Apple silicon is fast and frugal, but some older x86 tools still need emulation. That’s what Rosetta is for. It works, it’s stable; just don’t default to it. If you must install x86‑only utilities, silo them and reach for them deliberately.
First ten minutes that save hours later
Fresh Mac, fresh coffee. Do these first and your future self will send you a postcard.
# Compilers and headers xcode-select --install
Rosetta (Apple silicon only; for x86-only tools)
softwareupdate --install-rosetta --agree-to-license

Homebrew (Apple silicon installs to /opt/homebrew)
/bin/bash -c "$(curl -fsSL https://raw.githubusercontent.com/Homebrew/install/HEAD/install.sh)"
echo 'eval "$(/opt/homebrew/bin/brew shellenv)"' >> ~/.zprofile
eval "$(/opt/homebrew/bin/brew shellenv)"

Daily-use CLI
brew install git gh tmux fzf ripgrep fd bat jq yq httpie tree coreutils gnu-sed

iTerm2 and VS Code
brew install --cask iterm2 visual-studio-code
brew tap homebrew/cask-fonts && brew install --cask font-meslo-lg-nerd-font
With that, you’ve got the basics. Add more when you understand why you need it. That restraint is a theme throughout this Mac development environment setup.
Homebrew without drama
Homebrew is the backbone. On Apple silicon it lives in /opt/homebrew; on Intel it’s /usr/local. That difference is the root of half the broken blog posts out there. Keep your shell environment clean and explicit.
# ~/.zprofile (Apple silicon) eval "$(/opt/homebrew/bin/brew shellenv)"
~/.zprofile (Intel)
eval "$(/usr/local/bin/brew shellenv)"
Use formulae for CLI tools and casks for big apps. When a tool only ships x86, think twice. Can you run it in a container? Is there a native fork? If you absolutely must, keep an explicit alias so you know when you’re crossing the architecture line.
# Advanced: isolated x86 brew under Rosetta (only if necessary) arch -x86_64 /bin/bash -c "$(curl -fsSL https://raw.githubusercontent.com/Homebrew/install/HEAD/install.sh)" alias brewx86='arch -x86_64 /usr/local/bin/brew' Bookmark the source, not a random gist: Homebrew.
Terminal comfort: Zsh, iTerm2, tmux, fzf
Your terminal is home base. Invest an hour here and every hour after gets smoother. iTerm2 for window management, Zsh with a couple of smart plugins, tmux for sessions that survive laptops sleeping, fzf for fuzzy‑finding anything within arm’s reach.
# Minimal but mighty: Oh My Zsh + plugins sh -c "$(curl -fsSL https://raw.githubusercontent.com/ohmyzsh/ohmyzsh/master/tools/install.sh)" brew install zsh-autosuggestions zsh-syntax-highlighting
~/.zshrc additions
plugins=(git z zsh-autosuggestions zsh-syntax-highlighting)
bindkey -e # emacs keybindings
export EDITOR="code --wait"

fzf keybindings & completion
"$(brew --prefix)"/opt/fzf/install --key-bindings --completion --no-update-rc

tmux and sane defaults
brew install tmux reattach-to-user-namespace
SSH keys? Do them now so Git and servers stop nagging later:
ssh-keygen -t ed25519 -C "[email protected]" eval "$(ssh-agent -s)" ssh-add --apple-use-keychain ~/.ssh/id_ed25519 When I’m pair‑programming, tmux with a shared pane and an obvious status bar (exit code, git branch, duration) is the closest thing to magic—boring, reliable magic. That’s what we want from a Mac development environment setup.
Editors and IDEs (don’t overthink it, but do standardize)
VS Code covers 90% of general dev work with the right extensions, and it runs great on Apple silicon. JetBrains IDEs (IntelliJ, WebStorm, PyCharm) shine when you need deep refactors and heavyweight inspections. Xcode is mandatory for Apple platforms. Pick one primary editor for the team and standardize formatting to kill pointless diffs.
# VS Code essentials # First: Command Palette → "Shell Command: Install 'code' command in PATH" code --install-extension esbenp.prettier-vscode code --install-extension ms-python.python code --install-extension ms-azuretools.vscode-docker code --install-extension EditorConfig.EditorConfig code --install-extension github.vscode-pull-request-github Official downloads, fewer surprises: Visual Studio Code · Xcode.
Mac development environment setup for Apple silicon (specifics you need)
Prefer universal binaries; they just work. If a dependency is x86‑only, you have three options: run it with Rosetta, containerize it, or replace it. A lot of modern stacks (Node LTS, Python 3.12+, Go, Rust, JDK 17+) ship native ARM builds, so the friction keeps shrinking. Meanwhile, don’t mix /usr/local and /opt/homebrew casually—one stray PATH entry and your compiler searches in Narnia.
Language runtimes: managers over mess
Node.js
NVM is boring and reliable, which is exactly the point. It keeps your projects on the versions they expect and lets you hop between LTS lines without drama.
# NVM export NVM_DIR="$HOME/.nvm" source "$NVM_DIR/nvm.sh" nvm install --lts nvm alias default 'lts/*' node -v && npm -v Curious? Try bun or deno via Brew, but keep NVM as the baseline. Consistency wins.
Python
Use pyenv for versions and pipx for global CLI tools. Keep your site‑packages clean and your projects virtual‑env’d.
brew install pyenv pipx pyenv install 3.12.5 pyenv global 3.12.5 python --version pipx ensurepath pipx install poetry pipx install pre-commit Docs you’ll revisit: Python.org.
Ruby
brew install rbenv ruby-build rbenv install 3.3.3 rbenv global 3.3.3 gem install bundler Go
brew install go echo 'export GOPATH="$HOME/go"' >> ~/.zshrc echo 'export PATH="$GOPATH/bin:$PATH"' >> ~/.zshrc go version Rust
brew install rustup-init rustup-init -y rustup component add rustfmt clippy cargo --version Java
brew install --cask temurin@17 java -version # Or manage multiple JDKs: curl -s "https://get.sdkman.io" | bash Hook formatters and linters into pre‑commit in every repo. A quiet diff is a happy team—and a happier Mac development environment setup.
Containers: Docker Desktop vs. Colima (pick one and move on)
Docker Desktop is simple and has a UI; Colima is nimble and scriptable. Apple silicon runs both well. If you prefer one‑line scripts and minimal background agents, Colima feels great. If your team leans on GUI settings and built‑in extensions, Docker Desktop is fine.
# Docker Desktop brew install --cask docker
Colima + friends
brew install colima docker docker-buildx docker-compose
colima start --cpu 4 --memory 8 --disk 60 --arch aarch64
docker run --rm hello-world
Kubernetes for local testing? Keep it light with kind or k3d.
brew install kind kubectl k9s kind create cluster --name dev kubectl get nodes k9s Reference for later: Docker Desktop on Mac.
Databases for realistic local dev
Local services shorten feedback loops; containers keep them tidy per project. I like a hybrid: install Postgres and Redis with Brew for day‑to‑day hacking, then use Compose when a repo needs strict versions. That way your Mac development environment setup stays clean while your projects stay reproducible.
# Postgres 16 brew install postgresql@16 brew services start postgresql@16 createdb "$USER" psql -d "$USER" -c "select version();"
Redis
brew install redis
brew services start redis

MySQL (or MariaDB)
brew install mysql
brew services start mysql
For local TLS without tears, mkcert signs certificates that browsers trust automatically:
brew install mkcert nss mkcert -install mkcert localhost 127.0.0.1 ::1 Git that you’ll actually enjoy living with
Good Git config is like a comfortable chair—you stop noticing it. A couple of aliases, a readable log graph, and commit signing go a long way.
[user] name = Your Name email = [email protected] [init] defaultBranch = main [core] editor = code --wait autocrlf = input [push] default = current [commit] gpgsign = true [gpg] program = gpg [alias] st = status -sb co = checkout br = branch -vv lg = log --graph --decorate --oneline --all When you’re ready, sign with GPG or SSH, and make pre-commit the bouncer at the door—formatters, linters, and a secret scanner stop oopsies before they leave your laptop.
Bookmark: Git docs.
Security that doesn’t feel like homework
Turn on FileVault. Keep a YubiKey or passkey for repo hosts. Store secrets in a vault or in macOS Keychain—not in .zshrc. Use direnv or a dotenv loader so per‑project secrets never leak into your global environment.
brew install gnupg pinentry-mac gpg --full-generate-key git config --global commit.gpgsign true A resilient Mac development environment setup assumes a lost laptop is a “when,” not an “if.” Encrypt, back up, and expect recovery to happen on a Tuesday you didn’t plan for.
Automation and dotfiles (make it replayable)
The best dev setup is the one you can rebuild on a brand‑new Mac during a coffee break. Put your shell config, editor settings, and Brewfile in a dotfiles repo. Add a bootstrap script that’s idempotent: safe to run twice, and chatty when it changes something.
# Brewfile (trimmed) tap "homebrew/cask-fonts" brew "git" brew "tmux" brew "fzf" brew "ripgrep" brew "fd" brew "jq" brew "yq" brew "httpie" brew "postgresql@16" brew "redis" cask "iterm2" cask "visual-studio-code" cask "docker" # bootstrap.sh #!/usr/bin/env bash set -euo pipefail
xcode-select -p >/dev/null || xcode-select --install || true
if ! command -v brew >/dev/null; then
/bin/bash -c "$(curl -fsSL https://raw.githubusercontent.com/Homebrew/install/HEAD/install.sh)"
echo 'eval "$(/opt/homebrew/bin/brew shellenv)"' >> "$HOME/.zprofile"
eval "$(/opt/homebrew/bin/brew shellenv)"
fi
brew bundle --file ./Brewfile
"$(brew --prefix)"/opt/fzf/install --key-bindings --completion --no-update-rc
echo "Done. Open iTerm2, then run: chsh -s $(which zsh)"
Ship that to teammates and new hires. Suddenly “new laptop day” becomes “lunch break project.” That’s the goal of this Mac development environment setup.
Performance and battery etiquette
macOS is usually quiet until you put heavy tools on it. A little housekeeping goes a long way.
- Exclude giant repos and
node_modulesfrom Spotlight indexing. - Prune Docker images weekly—layers multiply like rabbits.
- Disable extensions you don’t use in VS Code; turn on Files: Watcher Exclude for massive monorepos.
- Keep Brew tidy: update, upgrade, cleanup; don’t hoard ancient formulae.
# Weekly habits docker system prune -f brew update && brew upgrade && brew cleanup Networking know‑how that pays off in real life
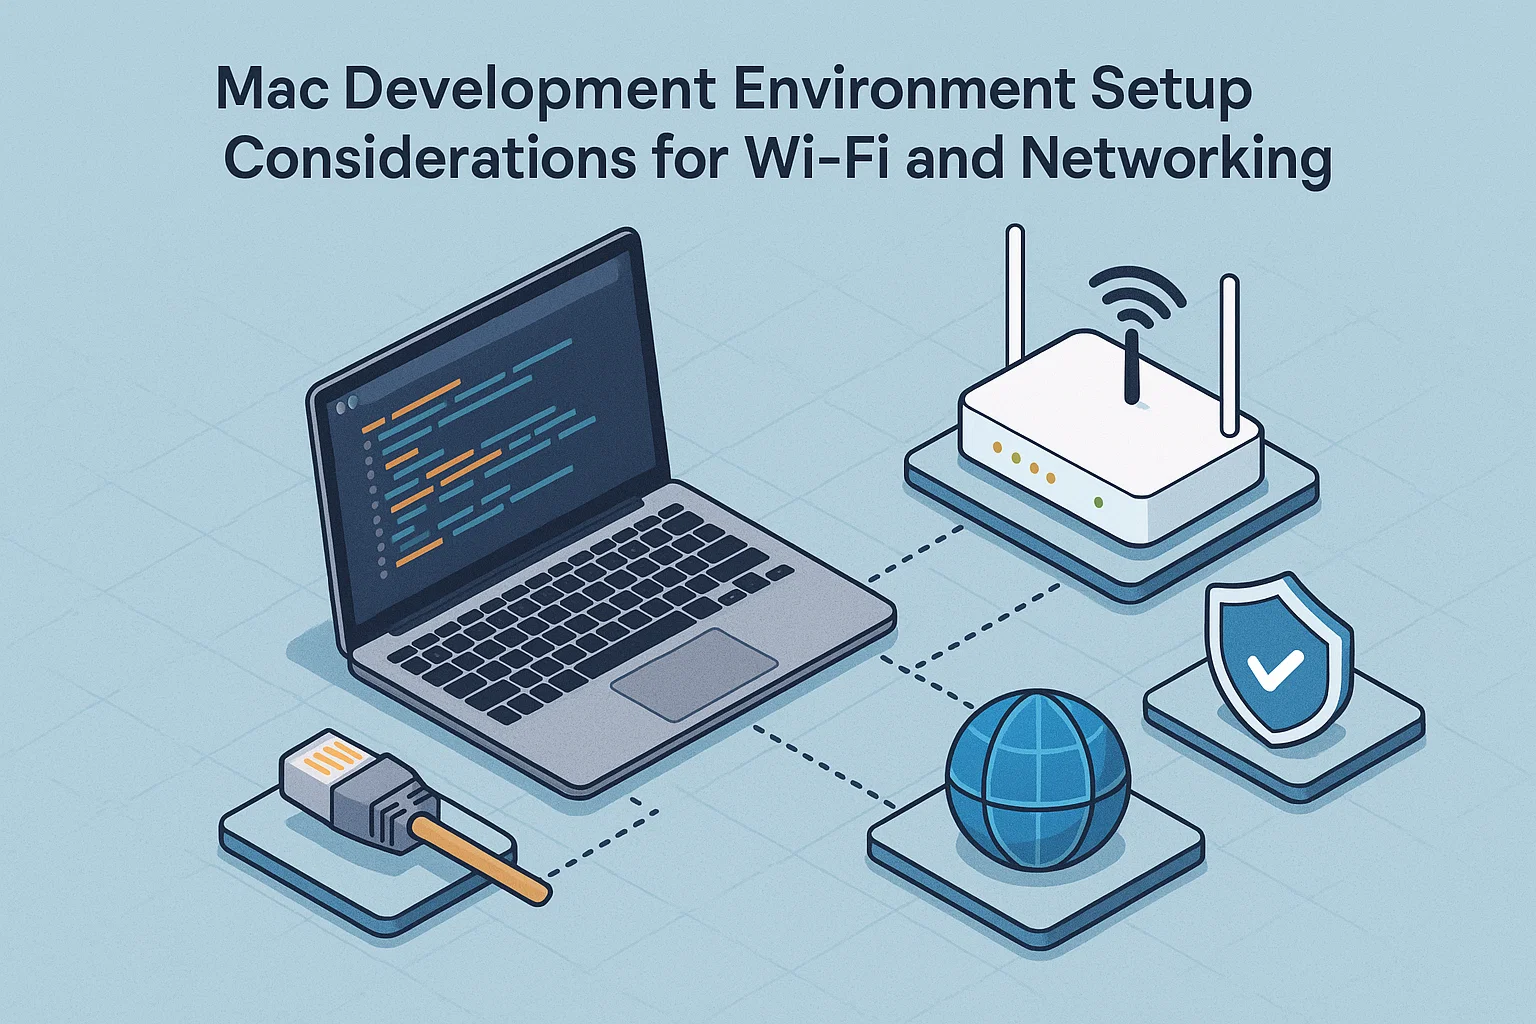
If you spend your day on Wi‑Fi (we all do), throughput and latency directly affect compile times, Docker pulls, and remote terminals. Two practical deep dives on our site are worth your time:
WiFi Generations Showdown — 7 Jaw‑Dropping Differences from WiFi1 to WiFi7 and Dual‑Band WiFi – 9 Fatal Traps Most Enterprises Get Wrong.
Read those, tweak your SSID plan, and watch flaky Zoom calls disappear. Good network equals faster feedback loops—another quiet superpower of a solid Mac development environment setup.
Observability and HTTP debugging
These tiny tools punch above their weight. They’re the difference between guessing and knowing.
brew install httpie mitmproxy lnav wireshark Use httpie for quick endpoint pokes, mitmproxy when a mobile app refuses to explain itself, lnav to spelunk logs without a web UI, and Wireshark for the rare RF crimes. You won’t need all of them daily, but when you do, nothing else substitutes.
Cloud CLIs and infra‑as‑code
Infrastructure moves faster than opinions. Install the CLIs, authenticate cleanly, and keep credentials out of your repo. Then treat Terraform as a first‑class citizen in your editor—lint and plan before you push.
brew install awscli azure-cli google-cloud-sdk brew install terraform helm kubeseal A mature Mac development environment setup doesn’t stop at code—it includes the tools that deploy, observe, and secure it.
Mobile and Apple‑platform extras (when you need them)
If you touch iOS or macOS apps, Xcode and simulators will occupy serious storage. Budget for it. Keep only the simulators you need; archive releases you don’t.
# Listing available simulators xcrun simctl list devices # Removing old runtimes (careful) sudo rm -rf ~/Library/Developer/Xcode/iOS\ DeviceSupport/* For local signing headaches, a clean Keychain and fresh provisioning profiles fix more than blog posts admit. Also, update Xcode through the App Store on a Friday afternoon only if your Monday morning is wide open.
Backup, recovery, and “oops I nuked my PATH”
Time Machine is boring—perfect. Pair it with periodic dotfiles pushes and you can rebuild in an airport lounge. If your shell goes sideways, keep a known‑good ~/.zprofile snippet to restore Brew’s shellenv and a minimal ~/.zshrc to boot with.
# Minimal lifeline ~/.zprofile eval "$(/opt/homebrew/bin/brew shellenv)" export PATH="$HOME/bin:$PATH" Real‑world bootstrap: from zero to “it runs”
Let’s stitch it together. Imagine a new teammate gets a Mac at 10 a.m. They should be able to clone your repo and run the app by lunch. Here’s the path I hand them:
- Install Xcode CLT and Homebrew.
- Run the team’s
bootstrap.sh(Brewfile, fonts, shell tweaks). - Install runtimes: Node LTS via NVM, Python 3.12 via
pyenv, Postgres & Redis with Brew. - Install Docker Desktop or start Colima.
- Run
pre-commit installin the repo. cp .env.example .envand load withdirenv allow(or your loader).docker compose up -dfor project‑scoped services.npm run devorpoetry run uvicorn ...—smoke test the stack.
That’s the heartbeat of a dependable Mac development environment setup.
Troubleshooting greatest hits
- “command not found: brew” — Re‑add Brew’s shellenv line to
~/.zprofileand open a new shell. - Python compile errors on
pip install— Usepyenvto match the project’s version and ensure Xcode CLT is installed. Many packages expect headers from the correct Python. - Node native addon fails on Apple silicon — Rebuild with
npm rebuild. If the library is x86‑only, use Rosetta shell just for that build step or swap libraries. - Docker composed service can’t see host files — On Docker Desktop grant Full Disk Access; on Colima, verify mount paths and user permissions.
- Ports are busy —
lsof -i :3000thenkill -9 <pid>. Be merciful; try a normalkillfirst. - “fatal error: ‘Python.h’ file not found” — Your virtualenv’s Python doesn’t match headers. Recreate venv after installing the right Python with
pyenv. - After macOS update, compilers vanish —
xcodebuild -runFirstLaunchand/orsudo xcode-select -s /Applications/Xcode.app. - VS Code can’t find compilers or tools — Launch Code from the terminal so it inherits env vars:
code . - Git refuses to sign — Ensure
pinentry-macis installed and that your GPG agent can talk to it.
My quick anecdote (the moment this guide became real)
A few months back, I handed a junior dev a sealed Mac at 9:40 a.m. The client’s QA window opened at 1 p.m. We ran our bootstrap script, installed Node via NVM, spun up Colima, seeded Postgres with a Make target, and watched the API and UI come alive by noon. The only snag? A pre‑commit hook blocked a sloppy console.log—exactly the kind of guardrail I want. That day convinced me: a solid Mac development environment setup isn’t a luxury; it’s a force multiplier.
Level‑up ideas when you have a lazy Saturday
- Consolidate runtimes with
asdformiseif your stack churns monthly. - Adopt
justortaskas a project command runner; fewer mystery shell scripts. - Wire GitHub Actions locally with
actto test CI before pushing. - Script simulator management for iOS projects so your team doesn’t hoard 20 GB runtimes.
- Set up
masto install Mac App Store apps as part of onboarding.
Useful references you’ll actually click
Homebrew · VS Code · Apple Developer · Docker Desktop on Mac · Git Documentation
Wrap‑up (and the only metric that matters)
At the end of the day, a great Mac development environment setup is measurable: how quickly can you go from unboxing to shipping a bug fix? Keep the stack lean, versions pinned, scripts idempotent, and secrets out of your repo. When the next Mac lands on your desk, you should be sipping coffee while your bootstrap script paints the world back into place.
![]()

 FoxDoo Technology