I’m gonna be real—I learned RAID Levels Explained the hard way. Years back, one of my drives died mid-deadline, leaving a half-finished video project in limbo and me stress-eating cold pizza at 3 a.m. That disaster pushed me down the rabbit hole of striping, mirroring, and parity math. Today I’m sharing everything I wish I’d known, so you can dodge that same late-night panic.
| RAID Levels | RAID 0 | RAID 1 | RAID 5 | RAID 6 | RAID 10 | RAID 50 | RAID 60 |
|---|---|---|---|---|---|---|---|
| Description | Striping | Mirroring | Striping with parity | Striping with double parity | Mirroring and striping | Striping and distributed parity | Striping and double parity |
| Minimum Disks | 2 | 2 | 3 | 4 | 4 | 6 | 8 |
| Read Performance | High | High | High | High | High | High | High |
| Write Performance | High | Medium | High | High | Medium | Medium | Medium |
| Cost | Low | High | Low | Low | High | Medium | High |
| Data Protection | No | Yes | Yes | Yes | Yes | Yes | Yes |
| Capacity Utilization % | 1 | 0.5 | 67%–94% | 50%–80% | 0.5 | 67%–94% | 50%–88% |
| Common Implementation | Live streaming, video editing | OS, database operations | Information warehousing | Financial & accounting applications, database servers | Fast databases, application servers | Large databases, file & application servers | Servers with large capacity requirements |
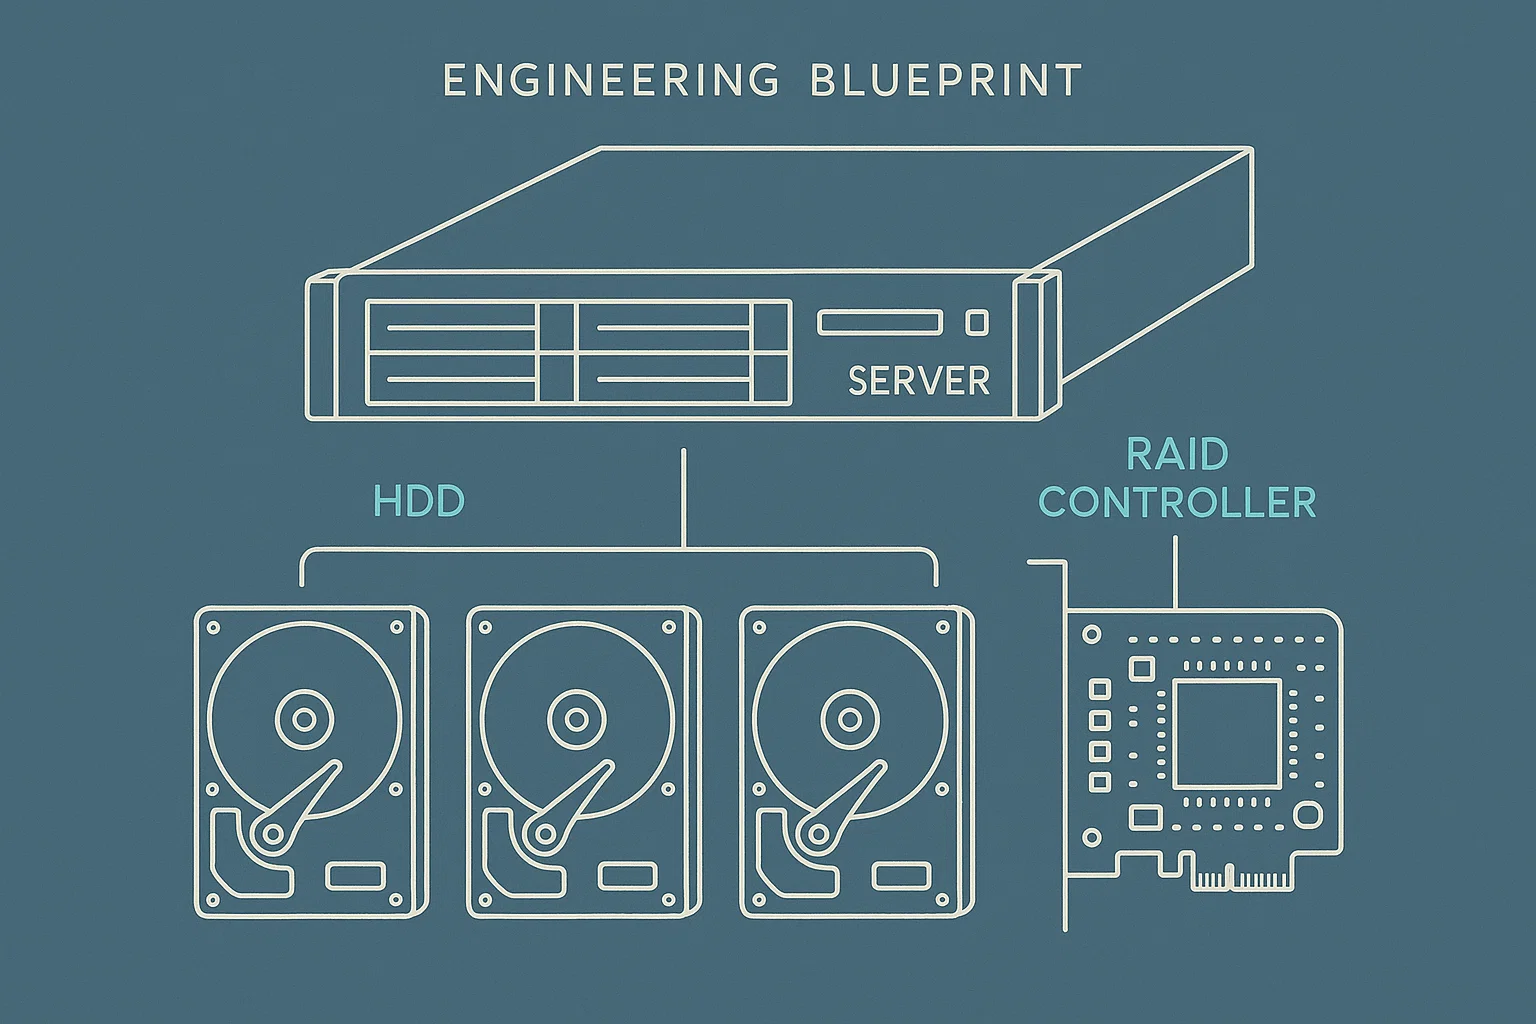
1. The DNA of Every RAID Array
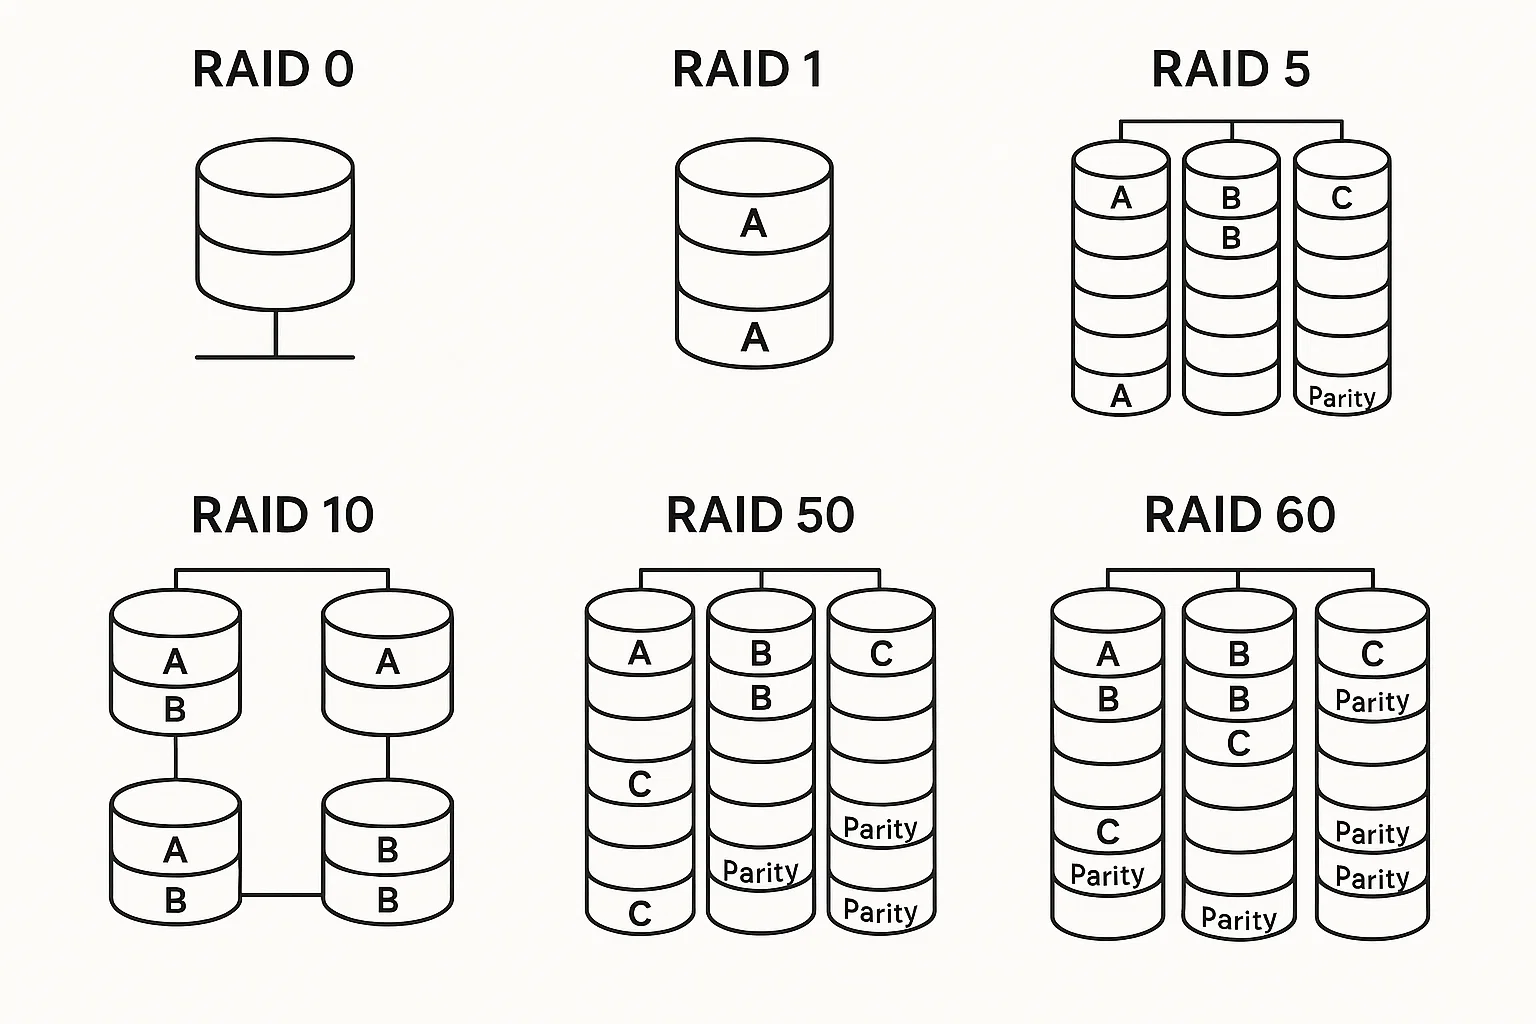
Before we dive into the spicy details, let’s get the building blocks straight. RAID—short for Redundant Array of Independent Disks—combines multiple physical drives into one logical volume. We juggle three core tricks:
- Striping—splitting data and writing chunks across drives for warp-speed throughput.
- Mirroring—cloning blocks to twin disks so any single failure is a non-event.
- Parity—storing clever math that rebuilds lost info when a disk bites the dust.
Mix and match those tricks, and you get six mainstream RAID families that keep IT folks arguing at meetups.
2. RAID 0 – Raw Speed, Zero Safety
RAID Levels Explained wouldn’t be complete without the adrenaline junkie of the lineup. RAID 0 stripes data everywhere—no mirrors, no parity, no mercy. Read/write throughput practically doubles with two disks, scales linearly with more, and costs peanuts. The catch? Lose a single disk and your data scatters like confetti in a hurricane. Keep it for scratch space, video editing caches, or gaming rigs where backups already live elsewhere.
3. RAID 1 – Mirror, Mirror on the Wall
Need instant recovery with zero math? RAID 1 is the old-school fallback. Every byte you write lands on two (or more) disks simultaneously. Reads get a mild bump because the controller can split requests, but writes stay single-drive fast. Storage efficiency plummets to 50 %, and you’ll pay double for the same capacity. Still, for boot volumes, small business databases, or my mom’s priceless photo archive, the peace of mind is golden.
4. RAID 5 – The Classic Balanced Act
When folks Google “best RAID for a NAS,” RAID 5 usually tops the list. It stripes data plus single-drive parity across three or more disks, squeezing out (N-1)/N capacity. Performance feels almost RAID 0-like on reads, slightly slower on writes thanks to parity calculations. The real gotcha is rebuild stress—losing one drive is fine, but the array runs in degraded mode and another failure during rebuild spells doom. Use enterprise-grade disks and keep spares on deck.
5. RAID 10 – Performance Meets Peace-of-Mind
Combine the speed of striping with the safety of mirroring and you get RAID 10 (often called 1+0). Picture pairs of mirrored disks, then stripe those pairs together. Performance screams—databases love it—and you can lose one disk per mirror set without downtime. Downside? Capacity cuts in half and you need at least four drives, but if you’re running mission-critical SQL or a heavy VM stack, RAID 10 is worth every penny.
6. RAID 50 – Scaling the Mid-Range
Take multiple RAID 5 groups, stripe them (RAID 0), and voila: RAID 50. You gain higher write performance and can survive one failed drive per group. Minimum six disks, capacity efficiency at (N-numberOfGroups)/N, and rebuild times still matter. Perfect for high-throughput file servers or media pipelines where you need more muscle than plain RAID 5 but can’t swallow RAID 10’s 50 % tax.
7. RAID 60 – Fort Knox for Petabytes
Think of RAID 60 as RAID 6 on steroids. Double-parity inside each group means two disks can die per subgroup, and striping those groups piles on performance. You’ll need at least eight drives, lose four drives’ worth of capacity, and shell out for a beefy controller. But if you’re operating a data-lake, cloud node, or AI training farm, RAID 60’s resilience is a lifesaver.
8. Beyond the Numbers: Controllers, SSDs & Rebuild Reality
Modern hardware controllers pack cache and XOR ASICs that shrink parity penalties to near-zero. Software RAID in Linux MDadm or Windows Storage Spaces can rock too—just feed the CPU plenty of cores. SSDs change the rebuild calculus: their blistering IOPS slash recovery windows, but they hate write amplification, so blend over-provisioning and TRIM in your design. Oh, and keep ambient temps below 30 °C; heat cooks drives faster than any benchmark.
Why RAID Levels Explained Still Matters in 2025
Cloud hype aside, on-prem boxes aren’t leaving anytime soon. Security policies, latency requirements, or sheer economics keep local arrays humming. Understanding RAID Levels Explained means choosing smarter redundancy at the rack level, then layering cloud backups on top—belt and suspenders.
9. Quick-Glance Matrix
| Level | Min Drives | Effective Capacity | Read Speed | Write Speed | Fault Tolerance |
|---|---|---|---|---|---|
| RAID 0 | 2 | 100% | ★★★★★ | ★★★★★ | None |
| RAID 1 | 2 | 50% | ★★★☆☆ | ★★★☆☆ | 1 disk |
| RAID 5 | 3 | 67-94% | ★★★★☆ | ★★☆☆☆ | 1 disk |
| RAID 10 | 4 | 50% | ★★★★★ | ★★★★★ | 1 per mirror |
| RAID 50 | 6 | ≈66% | ★★★★★ | ★★★☆☆ | 1 per subset |
| RAID 60 | 8 | ≤50% | ★★★★☆ | ★★☆☆☆ | 2 per subset |
10. Implementation Checklist
- Match drive models and firmware to avoid timing quirks.
- Flash the controller BIOS before first build.
- Burn-in with
badblocksor vendor diagnostics for 24 hours. - Schedule weekly scrub jobs; silent bit-rot is a sneaky gremlin.
- Keep cold spares on the shelf—nothing’s slower than overnight shipping.
- Document array configs in Git. Future-you will say thanks.
11. Picking Your Perfect Fit
If you crave absolute speed and can tolerate risk, RAID 0 plus a rock-solid backup plan is fine. Need set-and-forget reliability for small datasets? RAID 1 wins. Balanced SMB fileserver? RAID 5 or RAID 50. Enterprise database? RAID 10 all day. Multi-petabyte object store? Bust out RAID 60 and a fat wallet. Draw a Venn diagram of performance, capacity, and tolerance for risk—the level living in your sweet spot is obvious.
12. Must-Read Extras
For deeper server hygiene, bookmark our do-follow guide Server Maintenance Checklist—25 Epic Steps. And if ransomware keeps you up at night, steal tactics from Ransomware Defense Tips—30 Game-Changing Moves. Want cloud-grade off-site backups? Compare pricing on Backblaze B2 before signing any vendor contract.
Final Thoughts
RAID Levels Explained isn’t about buzzwords—it’s about sleeping soundly while hard drives spin away in the dark. Pair the right level with vigilant monitoring and a battle-tested backup routine, and you’ll dodge the 3 a.m. pizza panic forever. Happy striping!