1. Introduction
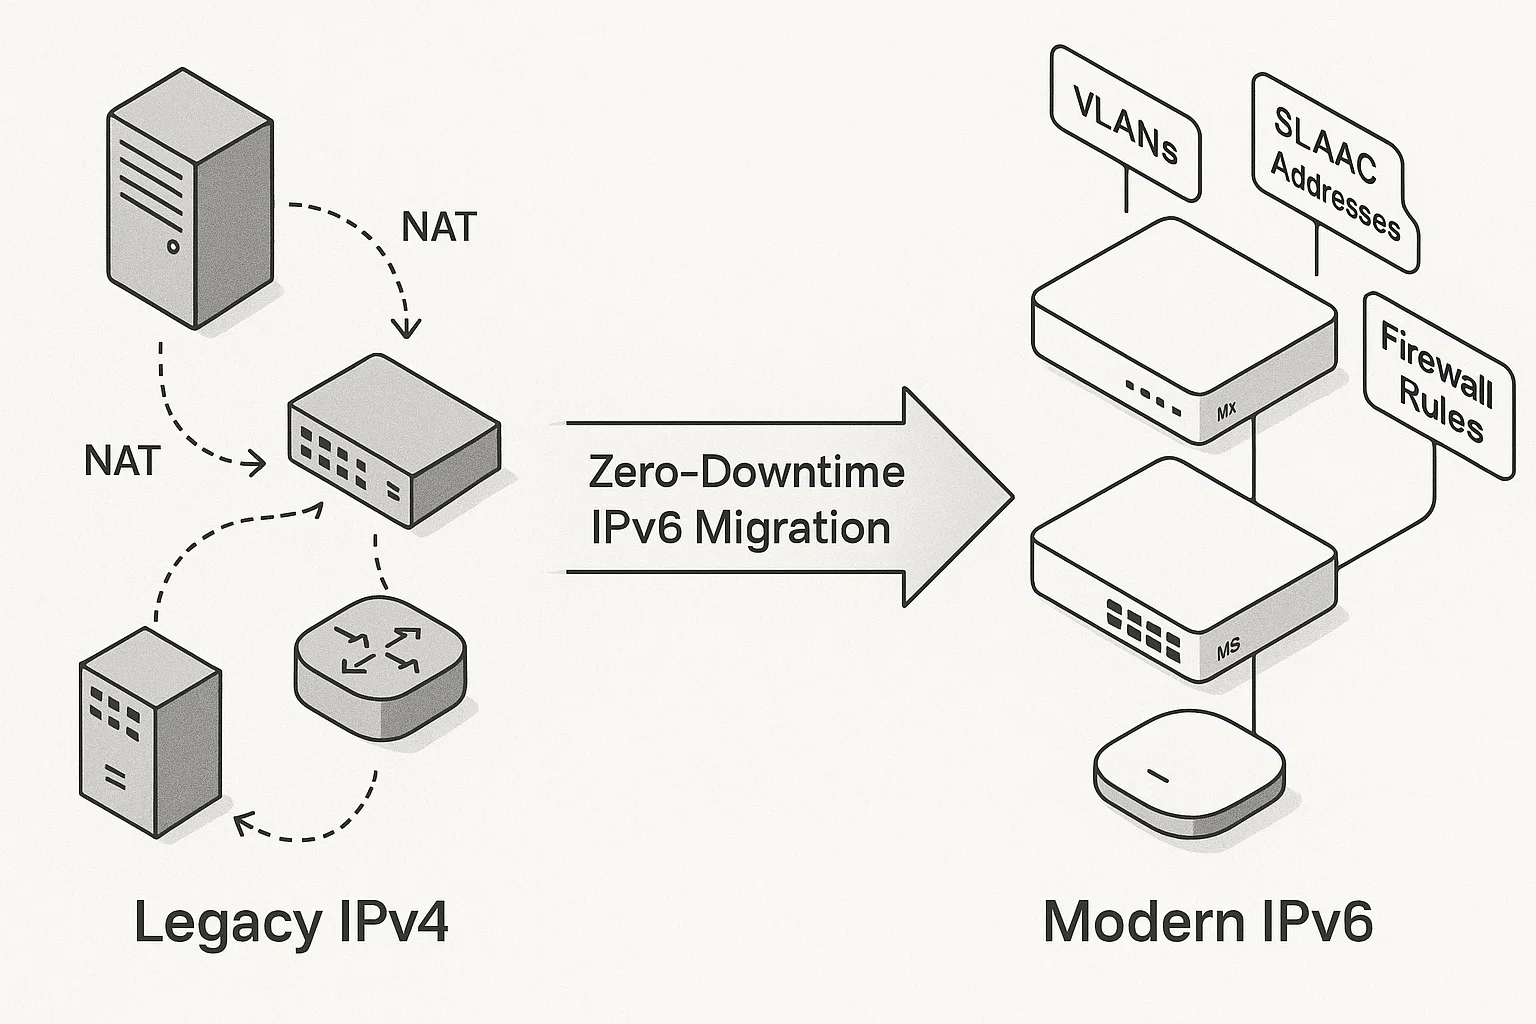
Enterprises worldwide are racing to adopt IPv6 to solve the IPv4 address exhaustion problem and unlock modern networking benefits. This guide walks you through a realistic, zero-downtime migration on Cisco Meraki MX, MS, and MR devices. Each step includes dashboard screenshots (you’ll capture locally), example configurations, validation commands, and troubleshooting tips—so your team can implement IPv6 without guesswork.
2. Planning & Design
2.1. Audit Existing IPv4 Infrastructure
- Export your current Meraki network report:
Dashboard > Organization > Summary report > Export as CSV. - Document all VLAN IDs, subnets, DHCP scopes, firewall rules, NAT policies, VPN peers.
- Create a spreadsheet with columns:
Device Serial,VLAN,IPv4 Subnet,DHCP Range,ACLs.
2.2. Design Your IPv6 Address Plan
- Obtain a /48 or /56 block from your ISP or RIR. Example:
2001:db8:1234::/48. - Map each existing IPv4 VLAN to an IPv6 /64:
- VLAN 10 (Guest):
2001:db8:1234:10::/64 - VLAN 20 (Staff):
2001:db8:1234:20::/64 - VLAN 30 (Servers):
2001:db8:1234:30::/64
- VLAN 10 (Guest):
- Document DNS AAAA records for critical hosts (e.g.,
vpn.company.com → 2001:db8:1234:30::5).
3. Lab & Pre-Migration Testing
3.1. Clone Your Production Network
- In Meraki Dashboard, go to Organization > Configuration templates and create a new “IPv6 Lab” template.
- Apply that template to a small batch of spare MS switches and MR APs in your staging VLAN.
3.2. Enable Dual-Stack
- On the template, navigate to Security & SD-WAN > Addressing & VLANs.
- Edit VLAN 20, check
Enable IPv6, selectSLAAC, and save. - Under Wireless > Firewall & traffic shaping, add a new IPv6 rule mirroring your IPv4 ACL:
Rule: Allow ICMPv6
Protocol: ICMPv6
Source: Any
Destination: Any
Action: Allow
3.3. DHCPv6 (Optional)
If you require stateful addressing:
- Go to Security & SD-WAN > Appliance status > DHCP.
- Under DHCPv6, set your IPv6 pool to
2001:db8:1234:20::100-200.
4. Production Migration
4.1. Phased Rollout Strategy
- Phase 1: Non-business VLANs (Guest Wi-Fi, IoT) for minimal risk.
- Phase 2: Staff VLAN, monitor application behavior.
- Phase 3: Core services (Servers, VPN concentrators).
4.2. Enabling IPv6 on MX and MS Devices
- In each site’s Dashboard, choose Security & SD-WAN > Addressing & VLANs, enable IPv6 per VLAN as designed.
- For MX NAT rules: replicate any port-forwarding rule on IPv6 by using the public prefix and target
[serverIPv6]:port. - MS switches automatically pass IPv6 traffic; ensure Multicast Snooping is enabled for Neighbor Discovery optimization.
4.3. API-Driven Bulk Configuration (Advanced)
Use Meraki’s dashboard API to bulk-enable IPv6:
curl -L -H "X-Cisco-Meraki-API-Key: <YOUR_API_KEY>" \
https://api.meraki.com/api/v1/networks/<networkId>/appliance/vlans/20 \
-d '{ "ipv6": { "enabled": true, "mode": "slaac" } }'
5. Validation & Monitoring
5.1. Connectivity Tests
- From a laptop on VLAN 20, verify SLAAC address:
ip -6 addr show eth0should list2001:db8:1234:20::XXXX. - Ping the Internet:
ping6 google.com - Traceroute:
traceroute6 2001:4860:4860::8888
5.2. Application Testing
- Web services: browse to
https://[2001:db8:1234:30::10]. - VPN: confirm users can establish IPv6-based VPN sessions.
- Email: check your mail server’s AAAA record resolves and connects over IPv6 (e.g.,
telnet -6 mail.company.com 25).
5.3. Dashboard Analytics
Meraki Dashboard > Network-wide > Clients shows dual-stack adoption percentages. Set alerts:
Alert: IPv6 Traffic Below 80%
Condition: IPv6 traffic ratio < 80%
6. Cutover & Decommissioning IPv4 NAT
- Once IPv6 uptake > 90% on critical VLANs, begin phasing out IPv4 NAT rules under Security & SD-WAN > Firewall & NAT.
- Remove obsolete IPv4 ACL entries in batches, watching for blocked traffic logs.
7. Post-Migration Best Practices
- Document Everything: Update Visio diagrams with IPv6 prefixes, DNS entries, and new ACLs.
- Staff Training: Hold a workshop on troubleshooting IPv6 (e.g., using
wiresharkto view ICMPv6). - Automated Health Checks: Use Meraki API scripts to run weekly
ping6tests and report via email.
8. IPv4 vs IPv6 Recap
| Aspect | IPv4 | IPv6 |
|---|---|---|
| Address Format | 32-bit dotted quad | 128-bit hexadecimal |
| Auto-configuration | DHCP | SLAAC/DHCPv6 |
| NAT | Widespread | Unnecessary |
| Header Overhead | Variable | Fixed, simpler |
| Security | Optional IPsec | Built-in IPsec |
9. Benefits of Migrating to IPv6
- Vast Address Space: Supports exponential growth of devices and IoT without NAT workarounds.
- End-to-End Connectivity: Eliminates complex NAT, improving application performance and simplifying troubleshooting.
- Enhanced Security: Mandatory IPsec support ensures encrypted, authenticated communications by default.
- Improved Routing Efficiency: Hierarchical addressing reduces routing table size and speeds up packet forwarding.
- Automatic Configuration: SLAAC and DHCPv6 streamline address assignment, reducing operational overhead.
- Better Multicast & Mobility: Optimized multicast delivery and mobile node support improve streaming and wireless user experience.
- Future Compatibility: Many cloud platforms, 5G networks, and modern services require or prefer IPv6.

10. Conclusion
By following this detailed, realistic plan you can migrate your Cisco Meraki network from IPv4 to IPv6 with zero downtime. From initial audit and address-plan design to lab testing, staged rollout, and post-migration monitoring—you now have a clear, actionable blueprint. Future-proof your connectivity and unleash the full power of IPv6 today.