I’m sipping a lukewarm americano at 1 a.m. staring at my screen—deadline looming, model exhausted, studio time gone. That’s when Canon EOS R5 Midjourney saved my bacon. One prompt later and I had a jaw-dropping cover image the client adored. If you’ve ever craved that same “whoa” moment, buckle up; we’re diving deep into the exact camera, lens, and lighting tokens that turn Midjourney V7 into your private high-fashion set.
1. Why the EOS R5 Prompt Rules Fashion Renders
The 45-megapixel sensor, deep-learning autofocus, and mirrorless clarity of the real EOS R5 translate to razor-sharp micro-detail, silky depth separation, and color-rich output in Midjourney. When you slap Canon EOS R5 into a prompt, you’re effectively telling the engine: “Give me magazine-grade optics, please and thanks.” Expect:
- Ultra-High Resolution — those 45 MP vibes map to denser pixel information for hair strands, fabric weave, and makeup texture.
- Natural Depth-of-Field — mirrorless sensor cues conjure tasteful background blur without cartoonish smearing.
- Skin-Tone Fidelity — Midjourney leans on R5’s color science, flattering melanin across the spectrum.
- Color-Pop + Contrast — crisp yet organic tonality that screams editorial rather than smartphone snapshot.
All of these perks were highlighted throughout the reference deck’s sample prompts, especially the neon-jacket shot and the velvet-sofa luxury frame.
2. Translating Camera Science into Prompt Parameters
Canon EOS R5 Midjourney magic doesn’t stop at a simple token. Marry it with these V7-specific switches for full control:
| Parameter | Why It Matters for Fashion | Suggested Value |
|---|---|---|
--v 7 |
Enables the newest visual-coherence model with improved fabric rendering. | Always on. |
--raw |
Disables heavy stylization so textiles and skin stay realistic. | Use on beauty & product work. |
--ar 2:3 |
Classic portrait ratio perfect for magazine covers and Instagram reels. | 85 mm & 70-200 mm prompts. |
--ar 3:2 |
Full-body fashion spreads and look-books. | 24-70 mm beach twirls. |
--ar 4:5 |
Tall product hero shots for mobile feeds. | Macro handbag close-ups. |
Pro Tip: Throw --stylize 100 when you need a bold, artsy vibe, but drop to --stylize 30 for catalog realism.
3. Five Lens-Inspired Prompt Recipes
Below are the heavy hitters. Each section includes a short rationale, a ready-to-paste prompt, and a quick tweak list so you can riff freely. The focus keyword is baked in for SEO goodness.
3.1 RF 85 mm f/1.2 L — Beauty & Luxe Close-Ups
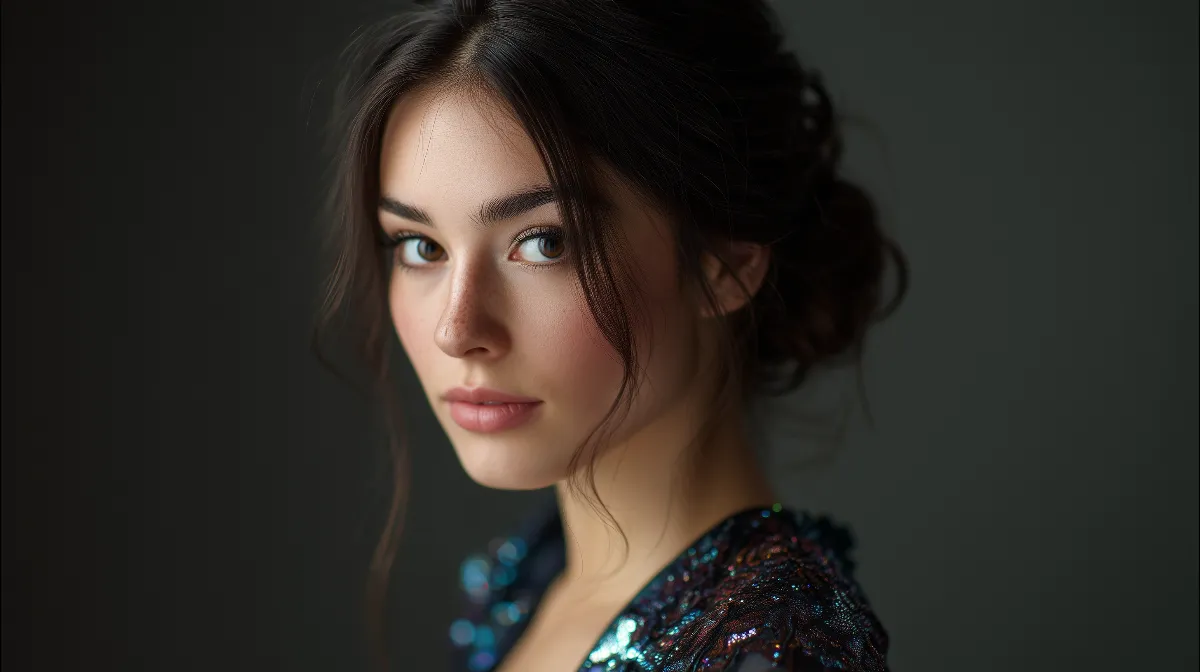
A woman in a sequin gown, shot on Canon EOS R5, RF 85 mm f1.2 L, studio soft-box lighting, glitter detail, crisp skin texture, fashion magazine style --ar 2:3 --raw --v 7- Swap glam: Replace “sequin gown” with “velvet blazer” for men’s grooming.
- Shift mood: Add “low-key chiaroscuro” for Rembrandt shadows.
- Add drama: Append “cinematic backlight haze” for diffusion.
3.2 RF 50 mm f/1.2 L — Lifestyle & Narrative Portraits
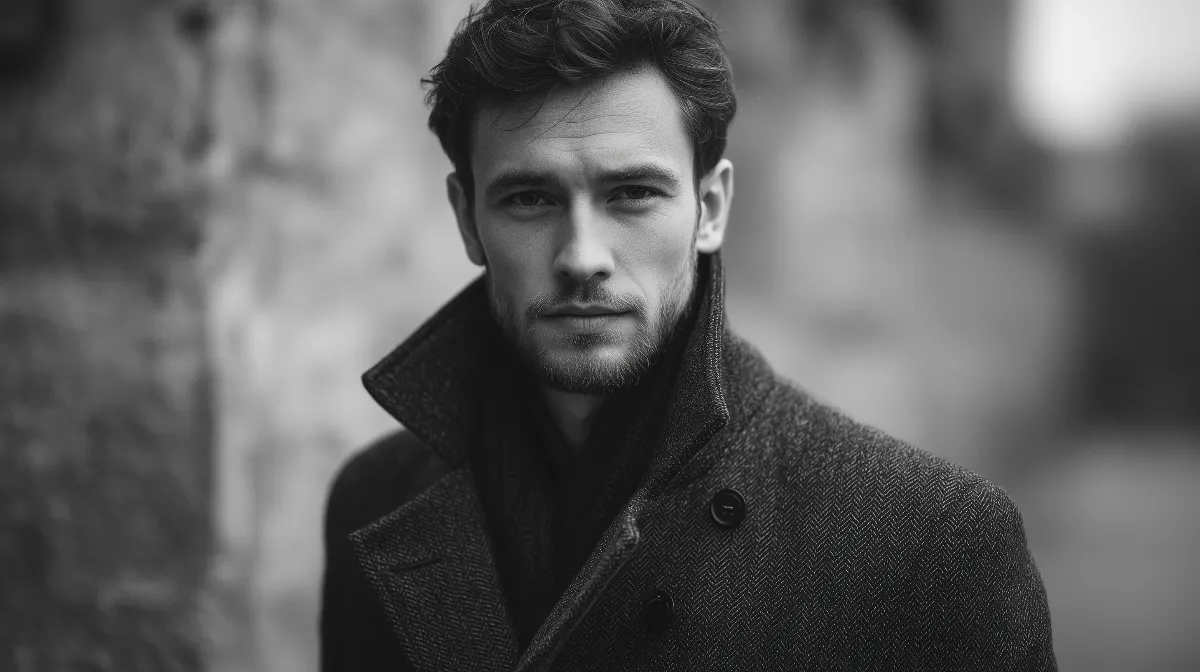
Black-and-white portrait of a male model in a textured wool coat, Canon EOS R5, RF 50 mm f1.2 L, grainless high detail, timeless editorial tone --ar 3:4 --raw --v 7The nifty-fifty keeps perspective natural—great for brand storytelling or catalog pages.
3.3 RF 35 mm f/1.8 Macro — Environmental & Detail-Hybrid Shots
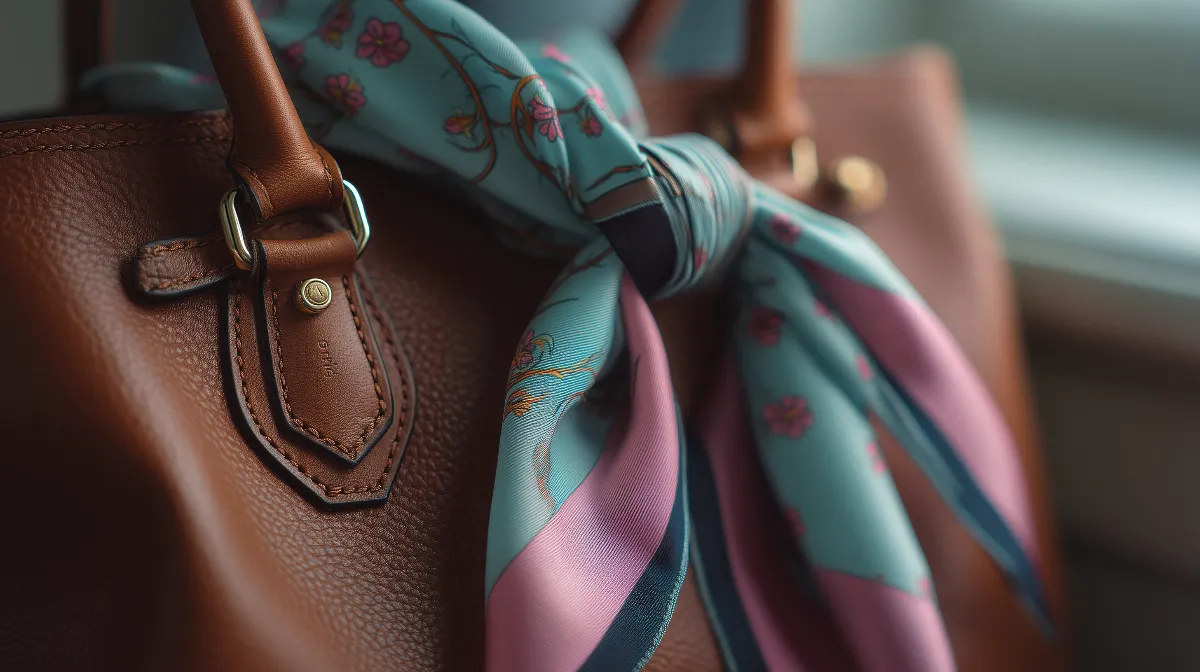
Close-up of a silk scarf tied on a leather handbag, shot on Canon EOS R5, RF 35 mm Macro, high texture detail, luxury accessory ad --ar 4:5 --raw --v 7Tack on wide-angle backstage editorial feel for behind-the-scenes energy.
3.4 RF 24–70 mm f/2.8 L — Versatile Zoom for Movement
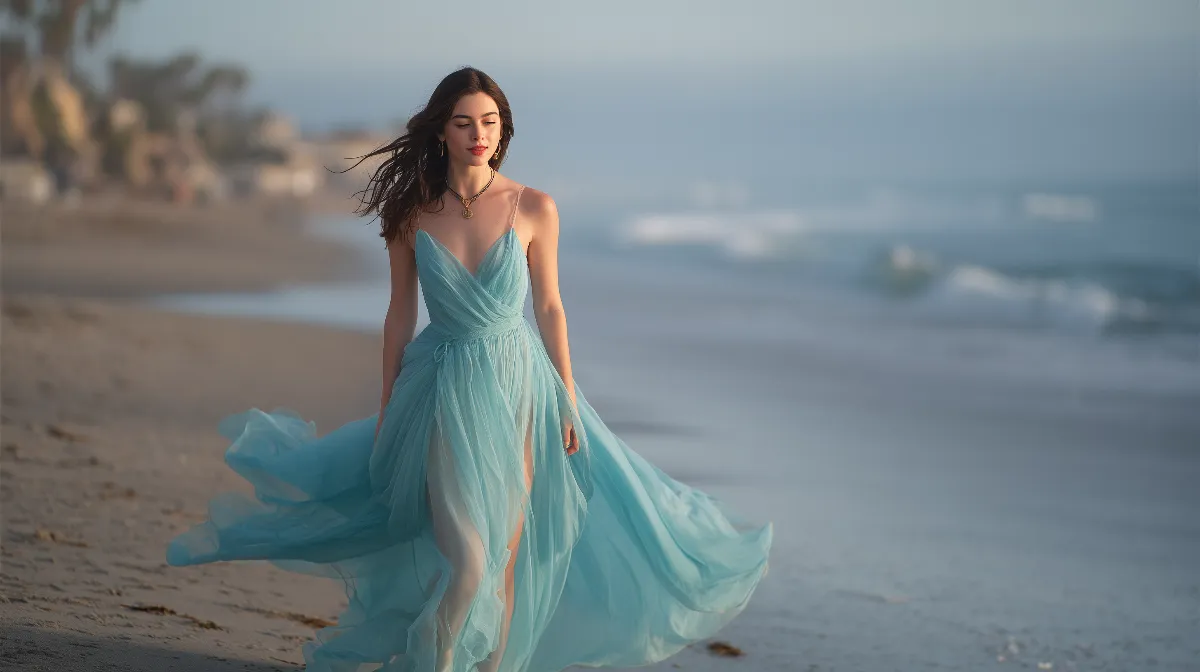
Model spinning on a beach in a flowing gown, Canon EOS R5, RF 24-70 mm, motion blur on fabric, high-end outdoor shoot --ar 3:2 --raw --v 7Add golden dusk light or overcast diffusion depending on mood.
3.5 RF 70–200 mm f/2.8 L — Runway & Cinematic Compression
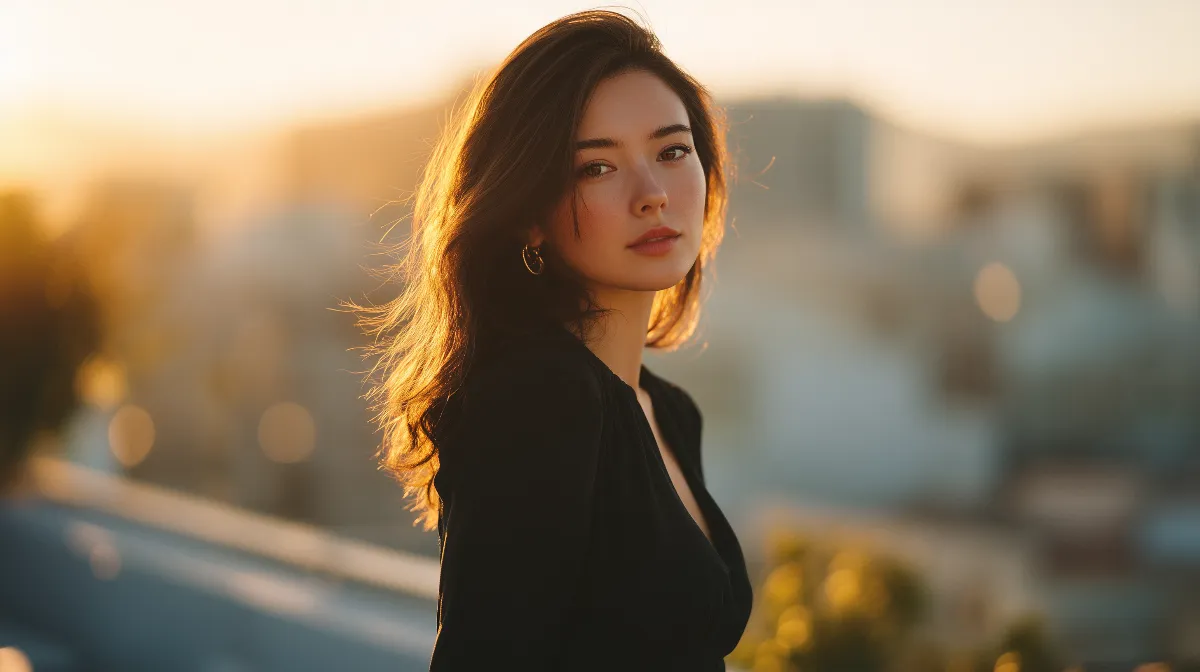
Elegant woman posing on a rooftop during golden hour, Canon EOS R5, RF 70-200 mm, dramatic background blur, long-lens compression, fashion campaign style --ar 2:3 --raw --v 7The extra reach amplifies subject isolation—perfect for luxe ad spreads.
4. Lighting & Color Science Tokens
The right glass gets you 80 % there; nuanced lighting tokens finish the job. Drop any combo straight after the lens fragment:
- “soft box lighting, sharp styling” — balanced highlight roll-off, crisp edges.
- “shot on Canon EOS R5, fashion editorial style” — immediate magazine polish.
- “clean shadows, modern composition” — for minimalist campaigns.
- “gelled rim light, neon edge” — streetwear shoots.
- “glamorous specular highlights, beauty dish” — cosmetics close-ups.
Want richer post vibes? Peep our tonal-separation guide and the cinematic color-grading walkthrough for finishing moves.
5. Quick-Reference Cheat-Sheet
| Lens Token | Best For | Go-To Prompt Add-Ons |
|---|---|---|
| RF 85 mm f/1.2 L | Beauty, jewelry, headshots | “high-contrast look, soft glow fill” |
| RF 50 mm f/1.2 L | Lifestyle, waist-up portraits | “balanced framing, muted color grade” |
| RF 35 mm Macro | Texture details + environment | “wide angle, backstage vibe” |
| RF 24–70 mm f/2.8 L | Motion, full-body action | “motion blur on fabric, dramatic sky” |
| RF 70–200 mm f/2.8 L | Runway, dramatic compression | “long-lens editorial composition” |
6. Post-Process & Delivery Workflow
- Generate at 1024×1536 px or higher. The extra pixels breathe life into sequins and skin pores.
- Upscale with Midjourney’s native 2×. Keeps neural sharpening aligned with the prompt style.
- Retouch in Photoshop. Frequency-separate blemishes and dodge-burn highlights.
- Apply subtle color-grade LUTs. See the cinematic guide above for a four-step workflow.
- Export in 16-bit TIFF (archive) + WebP (web).
- Optimize through local tools such as Petapixel’s recommended lossless compressor.
- Cross-check color accuracy against the official Canon EOS R5 spec sheet to mimic realistic gamut.
7. Troubleshooting Guide
Halo artifacts around hair? Add “anti-halo, clean edges” near the end of the prompt. Bokeh looks plasticky? Reduce --stylize value and mention “natural lens blur”. Skin texture over-sharpened? Insert “creamy skin, subtle pores”. Color banding in gradients? Append “16-bit tonal depth” or run a Dithering filter post-render.
8. Final Thoughts
The Canon EOS R5 Midjourney workflow marries real-world optical science with procedural imagination. Master the tokens above, sprinkle in your brand-specific flair, and you’ll churn out spreads that look like they cost five figures to shoot—without ever stepping foot in a studio. Time to grab that americano (maybe a fresh one) and render your next cover hero. Happy creating!