Mastering firewalld: A Practical Linux Firewall Configuration Guide
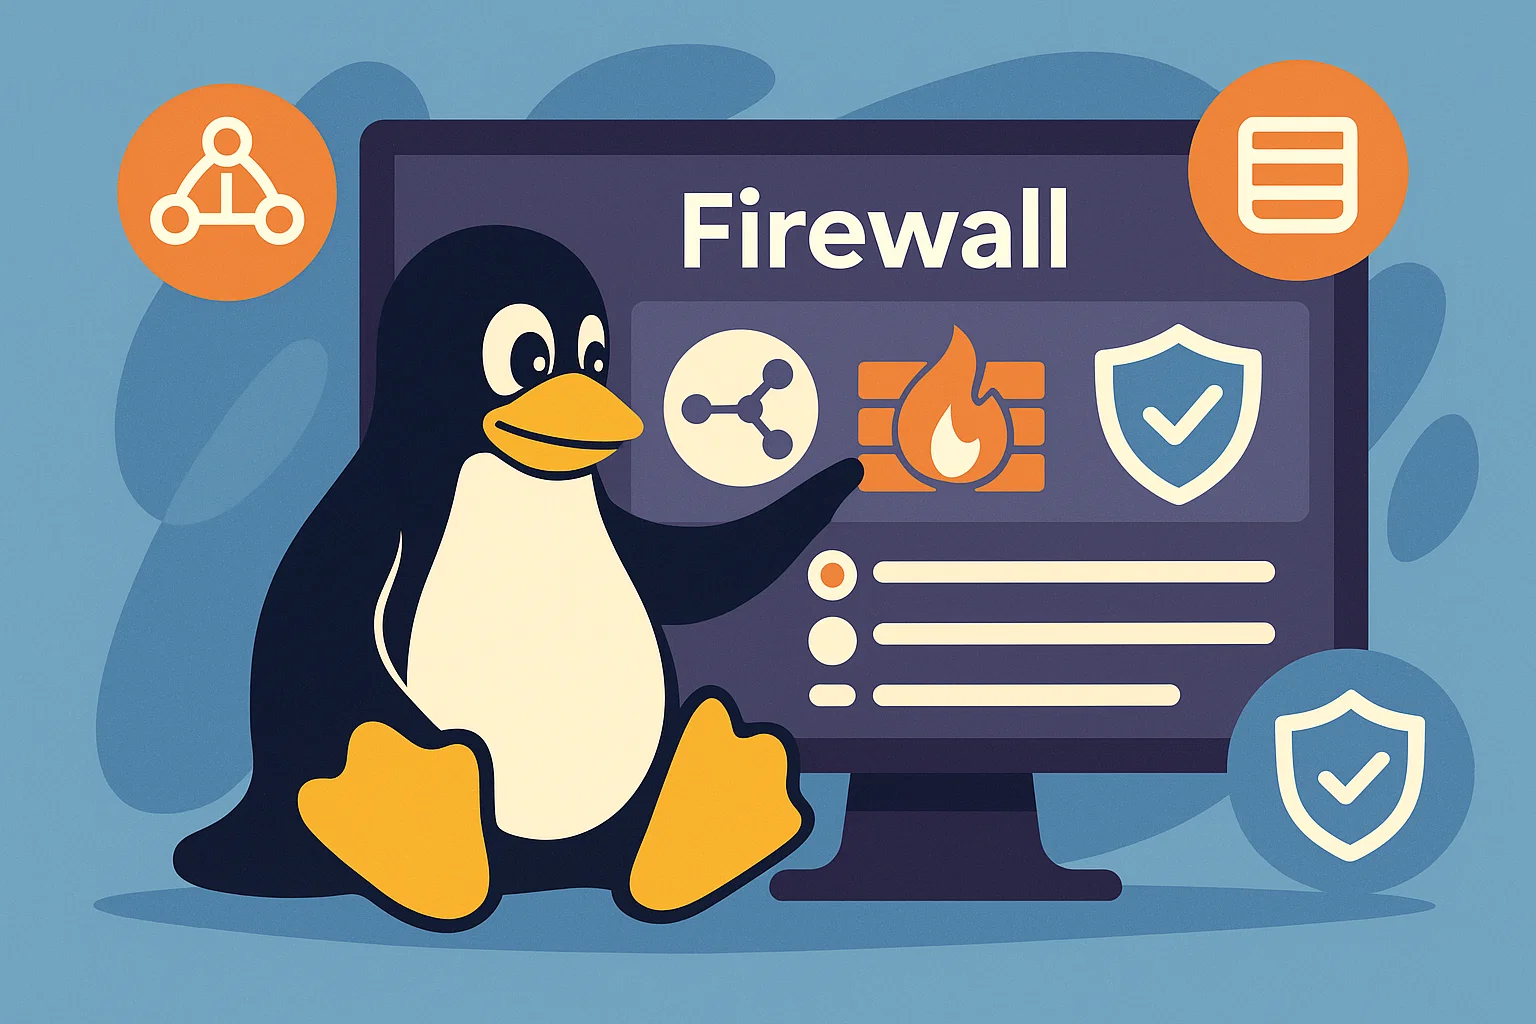
Securing your Linux server starts with a robust firewall setup, and firewalld has emerged as a flexible, dynamic alternative to traditional iptables. Whether you’re a system administrator or a hobbyist running a home lab, understanding how to work with firewalld’s zones, services, and rich rules is essential. In this guide, we’ll walk through real-world steps to configure firewalld for optimal security and minimal hassle, using clear examples and a conversational “blogger” tone that keeps complex concepts approachable.

Practical firewalld Configuration Guide
Why Choose firewalld Over iptables?
At its core, firewalld is a front-end management tool that interacts with the Linux kernel’s netfilter subsystem, much like iptables. However, firewalld’s key advantage is its ability to apply changes in real time without disrupting existing connections. Unlike iptables—where modifying rules often flushes and reloads the entire rule set—firewalld tracks differences and applies only the new or altered rules, ensuring that active sessions remain uninterrupted.
Additionally, firewalld uses zones to classify network interfaces by trust level, making it simpler to maintain separate policies for “home,” “work,” or “public” networks. Configuration in firewalld is managed with both CLI tools (firewall-cmd) and optional graphical front-ends, so you don’t have to memorize long chains of iptables commands. For teams or individuals who favor rapid iteration over detailed scripting, firewalld stands out as the more forgiving, modern choice for firewall management.
Understanding firewalld Zones
Firewalld divides traffic into zones, each representing a set of trust levels and access policies. By default, you can expect these pre-configured zones:
- public: The default zone, intended for untrusted networks (e.g., cafe Wi-Fi). Only SSH and DHCPv6-client services are allowed by default.
- home: A more permissive zone for trusted home networks; services such as SSH, mDNS, and Samba are commonly permitted.
- internal: Intended for corporate or lightly trusted LANs; SSH, mdns, and DHCPv6 might be allowed, but stricter than “home.”
- work: For workplace environments, allowing only essential services like SSH and LDAP by default.
- dmz: A demilitarized zone where only SSH is permitted, effectively isolating a public-facing server.
- trusted: All incoming connections are allowed; use with caution and only on interfaces you fully trust.
These zone definitions live in XML files under /usr/lib/firewalld/zones/ (e.g., public.xml, home.xml). To see which zone an interface is assigned to, run:
firewall-cmd --get-zone-of-interface=eth0To change the default zone (affecting all interfaces without explicit assignments), use:
firewall-cmd --set-default-zone=homeFor a full list of available zones, type:
firewall-cmd --get-zonesInstalling and Starting firewalld
Most modern Linux distributions (e.g., RHEL/CentOS 7+, Fedora, Ubuntu 22.04 LTS) include firewalld by default. To verify it’s installed and running:
sudo systemctl status firewalldIf it’s not active, install and start it with:
sudo yum install firewalld   # RHEL/CentOS
sudo apt-get install firewalld # Ubuntu/Debian

sudo systemctl enable --now firewalld
Once active, firewalld listens for firewalld.service commands, and you can begin tailoring your firewall immediately.
Basic firewalld Commands: Adding Ports, Services, and Sources
Firewalld offers two modes of change: runtime (immediate but temporary) and permanent (persists after reboot). If you only specify a rule without --permanent, it applies to the current session and will disappear on reload. Always remember to reload after making permanent changes using firewall-cmd --reload.
1. Opening a TCP or UDP Port
To open TCP port 8080 in the “public” zone permanently:
sudo firewall-cmd --zone=public --add-port=8080/tcp --permanent
sudo firewall-cmd --reload
Verify that port 8080 is now allowed:
firewall-cmd --list-ports
2. Allowing a Predefined Service
Firewalld maintains service definitions (e.g., SSH, HTTP, NFS) in /usr/lib/firewalld/services/. To enable HTTP (port 80) on the default zone:
sudo firewall-cmd --add-service=http --permanent
sudo firewall-cmd --reload
Check active services with:
firewall-cmd --list-services
3. Permitting an IP Address or Network
To allow traffic from a trusted subnet (e.g., 10.0.0.0/24) in the “internal” zone:
sudo firewall-cmd --zone=internal --add-source=10.0.0.0/24 --permanent
sudo firewall-cmd --reload
List all sources allowed in a zone:
firewall-cmd --zone=internal --list-sources
4. Viewing Zone Configurations
To see a summary of the “work” zone:
firewall-cmd --zone=work --list-all
This displays the target (usually “default”), bound interfaces, permitted services, open ports, and any defined rich rules (more on those later).
Implementing Rich Rules for Fine-Grained Control
While basic services and ports cover most use cases, rich rules allow deeper inspection, logging, and conditional logic (e.g., “allow port 22 only if source IP is in a given range”). A rich rule has this general format:
rule [family="ipv4"] source address="YOUR_IP/MASK" [invert="True"] [service name="http"]
    log prefix="FIREWALL_LOG: " level="info"
    accept | reject | drop
For example, to allow only 192.168.1.100 to reach port 3306 (MySQL) in the “public” zone:
sudo firewall-cmd --permanent --zone=public \
  --add-rich-rule='rule family="ipv4" source address="192.168.1.100/32" port port="3306" protocol="tcp" accept'
sudo firewall-cmd --reload
To list all rich rules in the active zones:
firewall-cmd --list-rich-rules
Use rich rules to:
- Log suspicious or unexpected traffic:
log prefix="ALERT: " level="warning" - Reject connections with a specific ICMP type:
icmp-block name="echo-request" - Forward ports or masquerade traffic:
forward-port port="80" protocol="tcp" to-port="8080" to-addr="192.168.1.10"
Persisting vs. Runtime Changes
Remember that commands without --permanent apply only until the next reload. To experiment quickly (e.g., during troubleshooting), apply runtime changes first. Once satisfied, repeat the command with --permanent and reload:
# Runtime test (will vanish on reload)
sudo firewall-cmd --add-service=ftp

# Make it permanent
sudo firewall-cmd --add-service=ftp --permanent
sudo firewall-cmd --reload
Best Practices and Operational Tips
- Back up zone configurations: XML files in
/etc/firewalld/zones/override defaults. Before editing, make a backup of any custom zone file you modify. - Use descriptive zone names: If “internal” is too vague, create a custom zone named “office_lan” by copying
internal.xmland renaming it. Adjust policies accordingly. - Limit SSH access: By default, SSH is open in several zones. Consider moving SSH to a trusted or home zone, or lock it down using a rich rule to specific source IPs.
- Audit logs regularly: If you enable
login rich rules, monitor/var/log/firewalldor the system journal for entries prefixed by your chosen tag. This helps detect unauthorized access attempts. - Test from a remote session: When working on firewalls remotely, ensure you keep an active root session open. If a misconfiguration locks you out, revert changes from the open shell.
- Document changes: Maintain a versioned runbook (e.g., in Markdown or a wiki) listing which ports and services are open per zone. Clear documentation saves hours of guesswork later.
Real-World Example: Securing a Web Server
Let’s walk through setting up a basic web server protected by firewalld. Imagine you have a CentOS 8 host that serves static content on Nginx (port 80) and offers SSH for admin access. You want:
- Allow HTTP (port 80) and HTTPS (port 443) to everyone.
- Allow SSH (port 22) only from the 203.0.113.0/24 management network.
- Block all other incoming ports.
Follow these steps:
# 1. Verify default zone (likely "public")
firewall-cmd --get-default-zone

# 2. Allow HTTP & HTTPS forever
sudo firewall-cmd --zone=public --add-service=http --permanent
sudo firewall-cmd --zone=public --add-service=https --permanent

# 3. Add a rich rule for SSH from management net
sudo firewall-cmd --permanent --zone=public \
  --add-rich-rule='rule family="ipv4" source address="203.0.113.0/24" service name="ssh" accept'

# 4. Drop all other SSH attempts (optional, since default zone blocks unspecified ports)
sudo firewall-cmd --permanent --zone=public \
  --add-rich-rule='rule family="ipv4" service name="ssh" drop'

# 5. Reload to apply changes
sudo firewall-cmd --reload

# 6. Confirm rules
firewall-cmd --zone=public --list-all
By reviewing the “list-all” output, you should see that HTTP and HTTPS are allowed, SSH is only accepted from 203.0.113.0/24, and any other SSH traffic is dropped. All other ports remain closed, sharply limiting your server’s attack surface.
Troubleshooting Common Issues
If a port you expect to be open isn’t listed, double-check:
- Whether you made the rule in the correct zone (compare
--get-zone-of-interface). - Whether you added the
--permanentflag, then reloaded. - Any overlapping rules in custom zone XML files under
/etc/firewalld/zones/that might override defaults. - That there’s no other firewall (like iptables or nftables rules) interfering; you can inspect the raw netfilter rules using
iptables -L -nornft list ruleset. - If a service unit (e.g., Nginx) is bound only to localhost, so even if the firewall is open, nothing listens externally.
Advanced Tip: Integrating firewalld with scripts and orchestration
For larger environments, automate firewall changes using Ansible or Puppet. A sample Ansible task might look like:
- name: Open Nginx ports in firewalld
  firewalld:
    service: http
    permanent: yes
    state: enabled
    immediate: yes
By setting immediate: yes, the rule applies at runtime and persists. Combine such tasks into playbooks to ensure every host in your inventory gets consistent firewall configurations.
Conclusion: Secure Your Linux Hosts with Confidence
Modern Linux deployments demand flexible, reliable firewall tools, and firewalld delivers with its dynamic rule-loading, intuitive zone model, and fine-grained rich rules. In less than an hour, you can transform a default installation into a hardened server that allows exactly the traffic you trust. Keep the principles above in mind:
- Choose the right zone for each interface.
- Apply runtime tests first, then make permanent changes.
- Leverage rich rules for IP- or port-specific policies.
- Document and back up your custom zone files.
- Automate with orchestration tools when managing multiple servers.
Armed with these best practices and real-world examples, you’re ready to implement a bulletproof firewalld configuration on your Linux servers. Happy securing!

 FoxDoo Technology


