Creating a rock-solid VMware virtualization environment starts with a clean, repeatable installation and follows through with proper configuration. In this comprehensive guide, we’ll walk through every step—from selecting the right VMware edition to launching your first virtual machine (VM). We’ll cover:
1. Edition Selection & Licensing
Before you download any software, choose the VMware product that best fits your needs:
- VMware Workstation Pro (Windows/Linux desktop)
Ideal for power users and developers who need advanced snapshot management, shared VM folders, and remote connections. - VMware Player (free for non-commercial use)
Good for simple VM testing without advanced features. - VMware ESXi (bare-metal hypervisor)
Best for datacenter deployments. Installs directly on server hardware for maximum performance. - VMware Fusion (macOS)
Native virtualization on Mac with seamless integration to macOS features.
Tip: If you’re just getting started, download the trial of Workstation Pro or Fusion to evaluate features. Production clusters often require ESXi with vCenter for centralized management.
2. Hardware Prerequisites & Host Preparation
2.1 CPU and Memory
- CPU: Ensure your processor supports hardware virtualization (Intel VT-x or AMD-V). Enable virtualization in BIOS/UEFI under “Advanced → CPU Configuration”.
- Cores & Threads: At least 4 cores for light workloads; 8+ cores recommended for multiple concurrent VMs.
- Memory: Minimum 8 GB RAM; 16 GB or more for comfortable multi-VM environments.
2.2 Storage
- Disk Type: SSD for fast boot and I/O; NVMe preferred if available.
- Capacity Planning: Allocate at least 40 GB for the host OS and VMware software. Plan additional space per VM—e.g., 60 GB for a Windows 10 VM.
2.3 Host OS Preparation
- Update & Patch:
- Windows: Install the latest service packs and hotfixes.
- Linux:
sudo apt update && sudo apt upgrade(Ubuntu/Debian) orsudo yum update(RHEL/CentOS).
- Disable Conflicting Software:
- Antivirus or disk-level encryption can interfere with VM image files.
- Temporarily disable 3rd-party firewalls during install.
- Network Setup: Assign a static IP to the host if running ESXi or if you want consistent remote access to the desktop host.
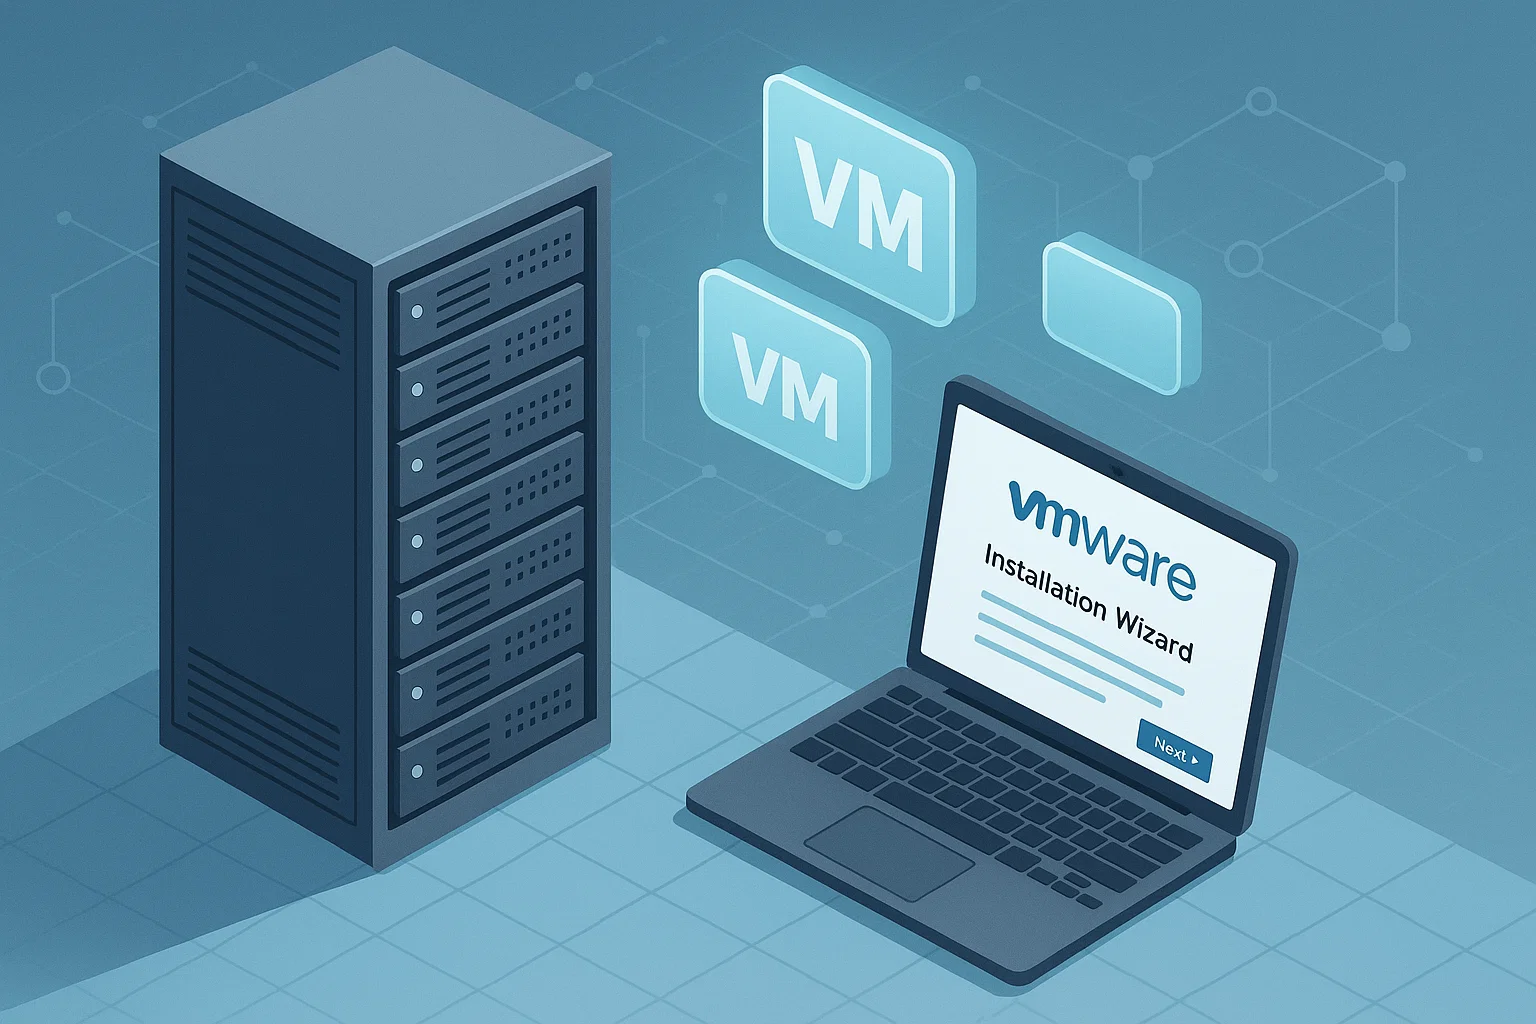
3. Installation Steps & First-Boot Configuration
3.1 Downloading the Installer
Go to the VMware download portal: https://www.vmware.com/go/download
Select your product and OS, then download the .exe (Windows), .bundle (Linux), or .dmg (macOS).
3.2 Installing on Windows / macOS / Linux Desktop
- Run Installer
- Windows/macOS: Double-click the installer file.
- Linux:
chmod +x VMware-Workstation-Full-*.bundle
sudo ./VMware-Workstation-Full-*.bundle
- Accept EULA
Click “I accept the terms” and continue. - Choose Install Location
Use defaults unless you have a dedicated volume for virtualization. - Shortcuts & Start Menu
Opt to create desktop and start menu shortcuts for easy access. - Networking Components
Allow the installation of VMware Bridge Protocol or virtual network adapters. - Enter License Key (if purchased)
Paste in your key; otherwise, select the 30-day trial.
3.3 Installing VMware ESXi on Bare Metal
- Create Bootable USB:
# On Linux: dd if=VMware-VMvisor-Installer-*.iso of=/dev/sdX bs=4M status=progress && sync - Boot & Install:
- Insert USB into server and boot.
- Select “Install ESXi” and choose the target disk.
- Root Password:
Set a strong root password for the hypervisor. - Post-Install Configuration:
- Use the DCUI console to assign management network IP (static recommended).
- Enable SSH only if required for remote shell access.
4. Networking Basics & Initial VM Creation
4.1 Understanding Virtual Networks
- Bridged Networking: VM appears as a peer on the physical LAN.
- NAT (Network Address Translation): VM shares host IP, private subnet. Good for isolated testing.
- Host-only: VM can only communicate with the host OS and other host-only VMs.
Best Practice: Create multiple virtual switches/networks in ESXi for production vs. test environments. Label them clearly (e.g., “Prod-vSwitch”, “Test-vSwitch”).
4.2 Creating Your First VM
- Launch VMware Application (Workstation, Fusion, or vSphere Client).
- New VM Wizard:
- Choose “Typical” for quick setup or “Custom” for advanced options.
- Select installation media: ISO image, physical disc, or network installer.
- Guest OS Selection:
Pick the correct OS family and version (e.g., Windows 11, Ubuntu 24.04). - VM Hardware Settings:
- CPU: Match cores to host capacity, avoid over-committing heavily.
- Memory: Start with 4 GB for Linux, 8 GB+ for Windows desktops.
- Disk: Choose thin-provisioned VMDK to save on initial space.
- Network Adapter: Select Bridged for production-like connectivity or NAT for sandboxing.
- Final Review:
Click Finish and let VMware create the VM files.
4.3 Installing VMware Tools
Once the guest OS boots:
- In the VMware menu, select “Install VMware Tools”.
- Inside the VM, mount the virtual CD and run the installer.
- Reboot the VM when prompted.
Why VMware Tools?
- Improved graphics and mouse performance
- Time synchronization
- Shared clipboard and folder support
Conclusion
With VMware installed and your first VM up and running, you’ve built a solid foundation for virtualization. You can now confidently:
- Clone or snapshot your VM before major changes.
- Experiment with different network adapters and storage policies.
- Scale out by adding additional hosts or leveraging vCenter for clustering.
In the next installment, we’ll dive deep into performance tuning, daily management, and snapshot strategies to keep your VMware environment running at peak efficiency.