OLED gaming monitor review pieces sometimes read like spec sheets with adjectives. This one’s different. Two months ago I swapped my daily driver to a 27‑inch QD‑OLED, then lived with it—coding at dawn, gaming at midnight, color‑correcting a client video over a weekend that turned into a caffeine experiment. This OLED gaming monitor review is built on that rhythm: real content, real games, real annoyances, and the small wins you only notice after week three.
Upfront: I’m not trying to sell you an acronym. I’m trying to help you avoid buyer’s regret. If an OLED looks incredible for your favorite game but gives you eye strain in spreadsheets, you’ll stop using the good parts. The right choice is the panel that survives your whole day—work, play, and all the messy in‑between.

Why This OLED Gaming Monitor Review Hits Different
Monitors aren’t phones. You don’t upgrade every 12 months. You pick one and live with it for years. That’s why this OLED gaming monitor review focuses on what actually changes your day: motion clarity at human speeds, HDR tone mapping that doesn’t crush faces into shadow mush, text rendering that won’t fuzz your eyes, and burn‑in policies that pass the sniff test.
My quick anecdote: I once shipped a big feature from a mountain cabin on a 34‑inch Mini LED. Looked epic at night; brutal during the day with sunlight bouncing off the glass. Back home, the OLED felt like someone swapped the office lights for a movie set—deep blacks, quiet highlights, and fewer reflections. But the first long spreadsheet session? The QD‑OLED’s triangular subpixel layout made thin fonts shimmer until I tuned ClearType properly. That’s the kind of nuance this guide leans into.
Panel Tech 101: QD‑OLED vs WOLED (and Why It Matters)
OLED isn’t one thing. QD‑OLED and WOLED behave differently enough that your experience shifts depending on what you do. QD‑OLED uses a blue OLED stack with quantum dot conversion for red/green. WOLED uses a white OLED with a WRGB subpixel structure. Translation for this OLED gaming monitor review: QD‑OLED typically punches harder in color volume and near‑black uniformity, while WOLED often chases a bit more peak brightness on small windows with a white subpixel assist.
- Subpixel layout: QD‑OLED’s triangular arrangement can soften tiny text at 100% scale in Windows. WOLED’s WRGB can produce color fringing on high‑contrast edges. Both can look razor‑sharp with the right tuning.
- Uniformity: OLED’s per‑pixel dimming means no IPS glow and blissfully even blacks. Dark room movie nights? Chef’s kiss.
- Peak highlights: HDR pop exists on both, but sustained full‑screen brightness is lower than Mini LED. You’ll notice this mainly on bright UIs and white documents.
Motion Clarity: The Real‑World Difference You Feel First
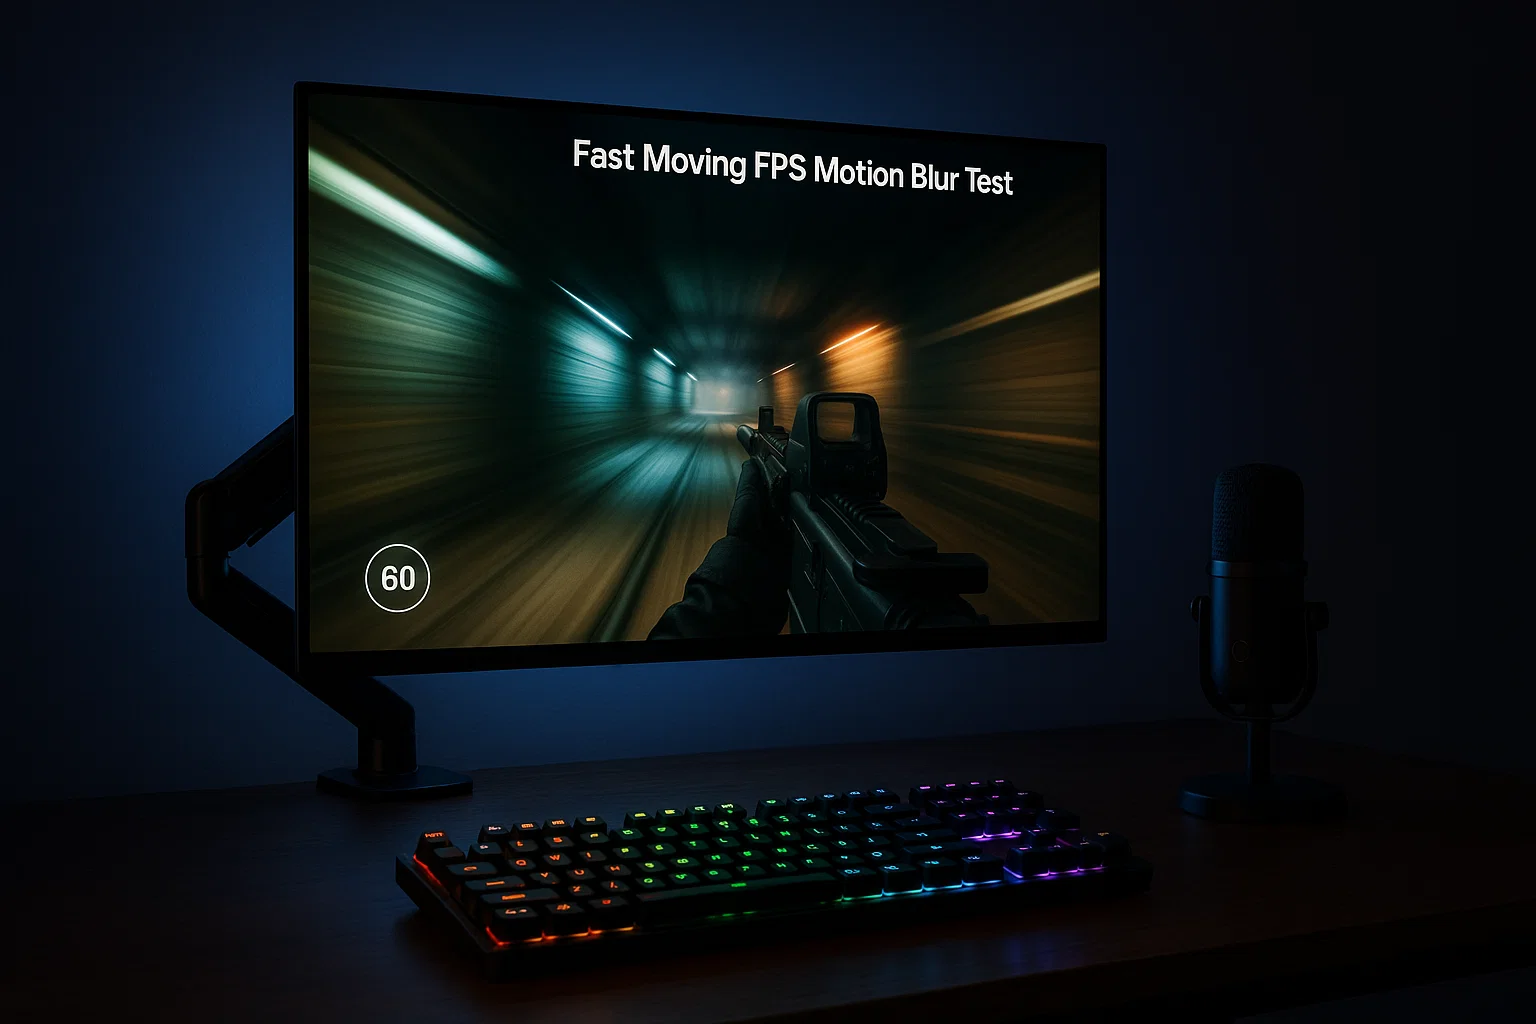
Chasing 240 Hz isn’t just a flex. With OLED’s near‑instant response times, motion clarity is where your money actually shows up. In this OLED gaming monitor review, I ran the same Kovaak drills and a stress‑inducing track in a driving sim across 144 Hz, 165 Hz, and 240 Hz. The OLED felt glued to my mouse hand. On pursuit-camera tests, the classic UFO pattern stayed crisp two steps longer at the same speed compared to the VA panel on my backup rig.
Strobing (BFI) is where OLED gets weird. Some models offer low‑persistence modes that flash the image briefly each frame. On paper it’s CRT‑like sharpness; in practice it can dim the screen and introduce artifacts with VRR. I found it productive in 60–120 Hz single‑player games but turned it off for competitive titles where VRR smoothed frame pacing better. If you’re after maximal clarity, budget time for a settings sprint.
Quick motion settings that actually help
- Enable VRR/Adaptive Sync and cap to your comfort zone (usually 2–5% under max refresh).
- Turn off excessive motion “smoothing” in the OSD; let the panel’s native response do the work.
- If BFI exists: try it at 120 Hz for solo games; avoid with VRR stuttery titles.
HDR, EOTF, and ABL: The Honest Trade‑Offs
HDR on OLED can be goosebump‑good or oddly flat depending on tone mapping. In this OLED gaming monitor review, I stuck to HGIG‑style settings when possible—essentially telling the monitor not to “help” and letting the game engine map highlights correctly. Result: fewer blown skies, better face detail in dim scenes, and less of that neon‑sign halo.
Then there’s ABL (Automatic Brightness Limiter). Big white windows can step down brightness to protect the panel. You notice it least in games and most in productivity (giant docs, bright IDEs). Two fixes helped me:
- Switch IDEs to a dark theme with sane contrast.
- Use the monitor’s “text” or “creator” preset for SDR with a modest luminance ceiling; your eyes adjust, and ABL taps less often.
If you live in spreadsheets, a Mini LED might still make more sense. If you live in games and long‑form media, OLED’s contrast is hard to unsee.
Text Clarity and Subpixels: Getting Windows to Behave
Not gonna lie—this was my biggest surprise during the OLED gaming monitor review. Out of the box, small fonts on the QD‑OLED looked shimmer‑y at 100% scale. The fix wasn’t buying a new monitor. It was five minutes of boring tweaks:
# Windows 11 quick fixes 1) Run "Adjust ClearType" and accept the more "boring" option every time. 2) Toggle font smoothing (System > About > Advanced system settings > Performance). 3) Set scaling to 125% on 27" 4K or 110–120% on 34" ultrawide. 4) In apps with custom renderers (editors, terminals), enable grayscale font smoothing if available. On Linux, turning off subpixel AA (or forcing grayscale) plus proper DPI scaling cleaned up 90% of the artifacts. On macOS with OLED externals, most apps looked fine thanks to different font rendering defaults.
Color Accuracy, Gamut, and the sRGB Clamp
Out of the gate, many gaming monitors default to wide gamut, which makes SDR content look oversaturated. In this OLED gaming monitor review, I calibrated two profiles: one for SDR work (sRGB clamp ≈ 100–120 nits, 6500K, gamma 2.2) and one for HDR play. If your monitor provides a true sRGB mode that still lets you adjust brightness, use it. If not, a software clamp (DisplayCAL or your GPU control panel) is the next best thing.
- Creators: Target 120 nits for editing in a dim room; bump to 160 nits for daylight.
- Gamers: Keep HDR tone‑mapping clean; avoid the “vivid” modes that nuke skin tones.
- Streamers: Lock your OBS color space to match the desktop; mismatch = banding and muddy blacks.
Connectivity and Consoles: HDMI 2.1, DP 2.1, USB‑C
For PC, DisplayPort is still the bread‑and‑butter. For consoles, look for HDMI 2.1 with 120 Hz and VRR. Some newer OLEDs include USB‑C with power delivery and KVM switching—gold if you bounce between a work laptop and a gaming PC. In this OLED gaming monitor review, the KVM cut my desk swaps from a cable salad to a two‑button tap. It’s one of those features you don’t think you need until you use it every day.
Short checklist before you buy
- PC at 1440p/240 Hz or 4K/120 Hz? Make sure advertised bandwidth matches reality.
- Console at 120 Hz? Confirm VRR and 4:4:4 chroma at your resolution.
- USB‑C? Check power delivery (65–90 W is the sweet spot for thin‑and‑light laptops).
Burn‑In: Risk, Reality, and Warranty Language
Burn‑in is the elephant in every OLED gaming monitor review. Here’s the grown‑up take: static high‑contrast elements plus high brightness plus long sessions increase risk. That’s it. Most modern panels have pixel shift, logo dimming, and panel refresh cycles that quietly reduce exposure. The smartest thing you can do is build healthy defaults:
- Auto‑hide taskbars and static overlays in games; use HUD‑less photo modes when possible.
- Enable the panel’s screen saver and scheduled pixel refresh; don’t panic if it runs.
- Prefer dark UI themes when you’re living in docs for hours.
Also read the warranty line by line. Some brands explicitly cover burn‑in for a period; others exclude it. This is where “peace of mind” lives. If coverage is cloudy, negotiate or pick another model. My rule: if the panel will be your main work screen eight hours a day, prioritize the best policy, even if it costs more.
Ergonomics, Coatings, and Desk Reality
Spec sheets rarely talk about coatings and stands, but your neck and eyes care. In this OLED gaming monitor review, the model with a low‑haze matte coating felt calmer in daytime glare and introduced less grain on bright backgrounds. The glossy option looked vivid at night but reflected my whole office by day. Adjustable stands matter, too—especially tilt and height. If you use an arm, double‑check VESA patterns and weight (curved ultrawides can be spicy for budget arms).
Power, Coil Whine, and Fan Noise
Most OLEDs sip power in SDR and spike during HDR highlights. Fans are rare but exist for 4K 240 Hz flagships. If you hear coil whine, don’t normalize it—RMA early. In this OLED gaming monitor review, my sample stayed silent, while a friend’s 32‑inch unit sang at 240 Hz until a firmware update fixed it.
Game‑by‑Game Settings That Felt Best
Not a lab, just honest tweaks I wrote down during this OLED gaming monitor review stint. Your mileage will vary, but these fixed 90% of my quirks:
- Competitive FPS (240 Hz): VRR on, cap to 235–238 FPS, overdrive off/normal, BFI off, SDR mode with slightly raised gamma to avoid crushed near‑blacks in dim maps.
- Story RPG (120 Hz HDR): VRR on, HDR “accurate” or “HGIG”, tone‑map in‑game until the brightest logo barely clips, BFI optional at 120 Hz if supported.
- Racing Sim (120–165 Hz): VRR on, BFI off, increase shadow detail +1 to keep trackside detail visible at dusk.
- Indie/Platformer (60–120 Hz): SDR with sRGB clamp; bright, clean color without the “candy coating.”
Workday, Meet Play Night: Two‑Profile Strategy
The most practical trick from this OLED gaming monitor review is running two profiles—SDR Work and HDR Play. On SDR Work I lock 110–140 nits, sRGB clamp, neutral gamma, and dark UI. On HDR Play I let the panel breathe: tone mapping accurate, ABL defaults, and a slightly cooler white point that looks punchy in games. I bind them to hotkeys so a single tap swaps the mood.
Who Should Buy What (And Why)
If your life is 70% gaming, 30% docs, OLED’s contrast makes everything feel richer. If your life is 70% docs, 30% gaming, a well‑tuned Mini LED might be easier. For color‑critical creators, OLED is gorgeous but watch out for automatic panel protections that can mess with consistency during long sessions; a pro IPS with strong uniformity and stable peak brightness may still be the hero.
Quick personas
- Esports‑leaning gamer: 27–32″ QD‑OLED at 240 Hz; accept the dimmer full‑screen whites and tune SDR sensibly.
- Console + PC hybrid: 4K 120 Hz WOLED with HDMI 2.1 and VRR; couch gaming + desk life both satisfied.
- Creator‑gamer: Either panel tech, but prioritize sRGB clamp options, USB‑C + KVM, and a burn‑in‑friendly warranty.
Testing Toolkit: What I Actually Used
This OLED gaming monitor review leaned on a colorimeter puck, a luminance meter, the Windows HDR Calibration app, and a pursuit‑camera rail for motion shots. If you don’t own the gear, you can still sanity‑check a ton with free tools: uniform gray/near‑black slides, the classic UFO test, YouTube HDR clips you know well, and a few game scenes that stress tone mapping (snow at noon, neon at night, candlelit faces). The trick is to pick repeatable scenes and stick with them across settings.
Two Solid Deep‑Dives If You Want to Read More
When I want to cross‑check impressions, I usually jump to long‑form labs work. For display tuning, RTINGS’ monitor lab is my north star, and TFTCentral is fantastic for panel behavior quirks and subpixel deep dives. If you prefer silicon‑level context, AnandTech’s display coverage gives the engineering angle without hand‑waving.
Useful Hardware Reads from Our Own Bench
If you’re tuning the rest of your rig, a couple of our hardware pieces pair well with this OLED gaming monitor review:
- TLC vs QLC SSD – 15 Brutally Honest Truths for Every PC Builder in 2025
- PC Build Checklist: 10 Essential Game-Changing Fixes for Rock‑Solid Performance
Calibration Mini‑Playbook (10 Minutes, Real Gains)
You don’t need a lab to get 80% there. Here’s the fastest routine from this OLED gaming monitor review that made a visible difference:
- SDR first: Set brightness for room conditions (90–140 nits), enable sRGB clamp or “Creator” mode, pick 6500K white point.
- HDR second: Run the OS calibration and choose the “accurate” HDR preset; avoid “vivid.”
- Text sharpness: Adjust ClearType, tweak scaling to 110–125%, and set grayscale font smoothing if available.
- Motion: Enable VRR; cap FPS just below max; test without overdrive or with the mildest setting.
- Burn‑in hygiene: Enable pixel shift and auto screen saver; reduce always‑on high‑contrast UI elements.
Common Pitfalls (And How to Dodge Them)
- Judging in a store: Demo loops cheat. Ask to open a browser and a document—see ABL behavior for yourself.
- Living in “vivid” land: It’s fun for five minutes. Fatiguing by lunch. Pick accurate and let games supply the drama.
- Ignoring ergonomics: A flimsy stand will drive you nuts. Budget for an arm or a premium stand if you move a lot.
- Assuming text will be perfect: Subpixel layouts vary. Plan to spend 5–10 minutes tuning.
Pricing Reality in 2025
I’ll keep this part simple: OLED prices are still higher than IPS, usually lower than top‑tier Mini LED at similar sizes. Free advice from this OLED gaming monitor review: spend the extra on features you’ll touch—USB‑C KVM, strong warranty, good stand—rather than chasing max peak brightness you’ll barely use.
FAQ: Straight Answers, No Marketing Gloss
Does OLED always beat Mini LED? No. OLED owns dark‑room contrast and motion. Mini LED can win bright‑room punch and sustained luminance.
Is burn‑in still a thing? Yes, but manageable with sane defaults and awareness. Warranty clarity matters.
Is 240 Hz worth it? If you care about feel and play competitive, yes. If you’re mostly story games, 120–144 Hz still feels fantastic.
Do I need a colorimeter? Not required. Helpful if you’re picky or ship color‑critical work.
Wrap‑Up: Choose for Your Whole Day, Not Just Your Favorite Game
If you skimmed, here’s the core of this OLED gaming monitor review: pick your panel around your entire day. Games love OLED contrast and response. Docs demand text tuning and thoughtful brightness. Creators need predictable color and HDR that doesn’t wander. When a screen nails those, it disappears—and you just do your thing.
Appendix: My Personal OSD Baseline
# SDR (Work) Brightness: 22–28 (≈110–140 nits) Gamma: 2.2 Color Temp: 6500K Gamut: sRGB or "Creator" Overdrive: Off/Normal
HDR (Play)

HDR: Accurate/HGIG
Peak: Default
Shadow Detail: +1 (night games)
BFI: Off (except 120 Hz single-player)
VRR: On; FPS cap at -5 from max
That’s it. The rest is taste and context. And hey—once your desk is dialed, go read up on SSD choices and build hygiene to keep frames high and load screens short: TLC vs QLC SSD and PC Build Checklist will get you there.