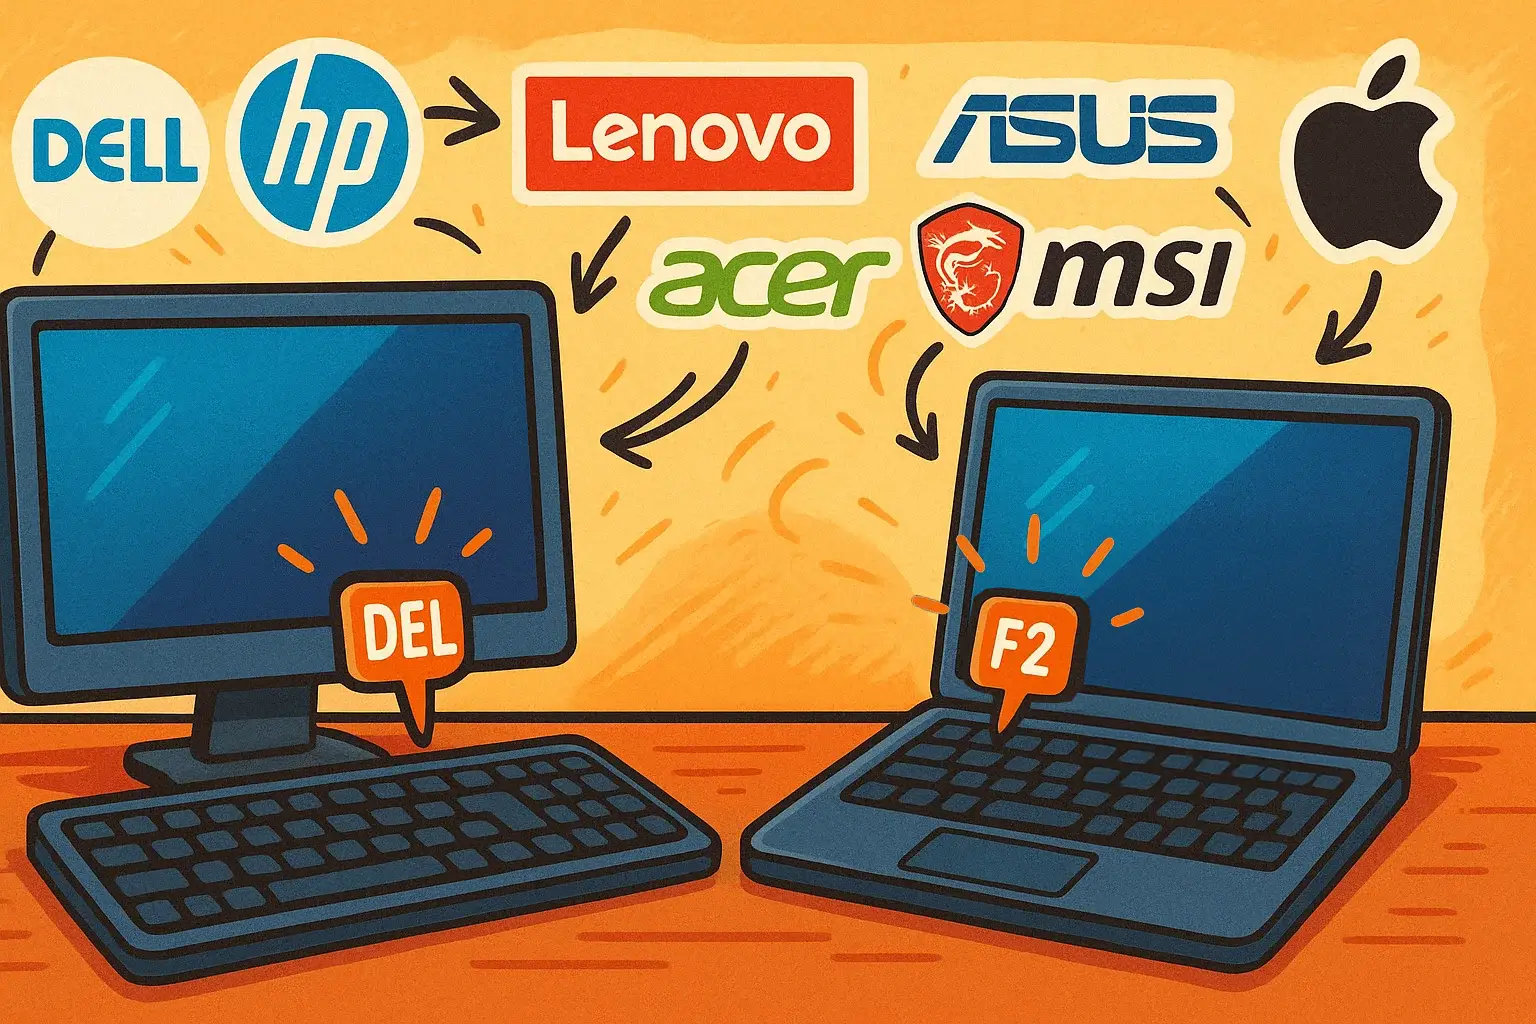
Whether you’re a casual user trying to tweak boot order or a seasoned tinkerer diving into overclocking, knowing how to enter BIOS (Basic Input/Output System) is essential. This guide collects the most up-to-date methods for accessing BIOS on every major desktop and laptop brand—sprinkled with humor and unexpected analogies to keep you entertained. Ready to unleash the power lurking beneath your keystrokes? Let’s dive in.

Introduction
Enter BIOS on any PC or laptop brand can feel like unlocking a secret level in your favorite video game. You hit the wrong key, and suddenly your machine seems possessed—refusing to boot or throwing cryptic messages on the screen. Fear not! We’ve gathered the BIOS entry keys for popular desktop manufacturers, laptop makers, and even custom-built PCs. By the end of this guide, you’ll know exactly which key to tap (and how hard to tap it—spoiler: gently) to access that mystical BIOS menu.
How to Prepare for BIOS Entry
Before we dissect brand-specific instructions, let’s cover a few universal tips:
- Shut Down Properly: Always shut down (not restart) your PC to ensure a fresh boot cycle.
- Patience Is a Virtue: As soon as you power on, start tapping the BIOS key—like you’re trying to call a cab in a hurry, but with restraint.
- Watch the Screen: Some brands flash a quick splash screen indicating “Press F2 for Setup,” “F12 for Boot Menu,” or something similarly cryptic.
- Timing Matters: If you miss the window (i.e., you wait too long), just restart and try again. Think of it like catching the opening credits—don’t blink!
Dell (Including Alienware)
- Desktop & Laptops: Press F2 repeatedly as soon as the Dell logo appears.
- Alternative (Boot Menu): Press F12 to access Dell’s one-time Boot Menu.
Dell machines almost brag about their “Press F2 for Setup” message. Once in BIOS, you can adjust performance settings, RAID configurations, or simply enjoy the satisfaction of seeing a blue screen that isn’t an error.
HP
- Consumer Laptops & Desktops: Tap F10 when the HP logo appears.
- Pro/Business Models (EliteBook, ProBook, etc.): Use Esc to bring up a startup menu, then press F10 for BIOS Setup.
HP is famous for its startup menu. If you hit Esc too early, you may end up in the “Please Choose Boot Device” screen—no BIOS for you! Patience, padawan.
Lenovo
- ThinkPad & ThinkCentre: Press F1 during the Lenovo splash screen.
- IdeaPad & IdeaCentre: Tap F2 when the logo displays.
Lenovo’s BIOS often looks like a futuristic sci-fi interface. When you see “Enter Setup,” you’ll know you’ve succeeded. If you’re on a modern Yoga series with very fast boot, you might need to plug in an external keyboard to ensure the keystroke registers.
Acer
- Desktops & Laptops: Repeatedly press F2 just after powering on.
- Boot Menu (if needed): Use F12 on many models.
Acer BIOS screens can vary from plain text to slick blue interfaces, depending on the series. If you have a Nitro gaming laptop, expect a slightly more gamer-centric look. Don’t let the fancy graphics distract you—focus on that sweet F2 key.
ASUS
- ZenBook, VivoBook, ROG & TUF Series: Hit F2 immediately after powering on.
- Desktops & Motherboards (Custom Builds): Press DEL repeatedly for ASUS’s UEFI BIOS.
ASUS is a dual-threat: their laptops love F2, while their motherboards insist on DEL. Think of it as a secret handshake exclusive to PC builders. Once inside, you might be greeted by ASUS’s EZ Mode—a very user-friendly BIOS interface that even a newbie can navigate.
MSI
- Gaming Laptops (Stealth, GS, GT): Press DEL during the startup splash.
- Desktops & Motherboards: Use DEL or, on some laptops, F2.
MSI’s BIOS often showcases a dragon logo. Don’t be intimidated; it’s just there to remind you that you’re in control, breathing fire (figuratively) into your hardware. If “Oops, missed it” pops up, just reboot and try again—dragons forgive second chances.
Acer Predator (Gaming Series)
- Predator Helios & Triton Laptops: Tap F2 as soon as the Predator logo appears.
- Predator Desktops: Use DEL to get into UEFI.
Predator owners should feel like apex hunters. When the BIOS screen finally flashes, you’re the predator and your PC is the prey—ready to be optimized for peak performance.
Apple (Intel-Based Macs)
- MacBook Pro/Air, iMac, Mac Mini: Hold Option (⌥) immediately after pressing the power button.
- Alternate (Intel Macs Only): Hold Command (⌘) + R to enter Recovery Mode, then choose “Utilities → Startup Security Utility → Firmware Password Utility” for firmware-level tweaks (note: Macs don’t have a traditional BIOS but use EFI/UEFI).
Apple’s ecosystem is famously locked down, so “entering BIOS” on a Mac is really about accessing EFI settings or Recovery. If you need to disable Secure Boot or manage external boot drives, go through Recovery Mode—just remember that fancy chime before the Apple logo.
Razer
- Razer Blade Laptops: Tap F1 or F12 during startup—different models vary.
- Razer Desktops (Core): Use DEL to enter BIOS on the external GPU enclosure.
Razer Blade owners often have gaming gear that feels more “cyberpunk” than PC. If F1 doesn’t work, try F12—sometimes Razer machines like to keep you on your toes. Once you’re in, you can adjust fan curves and voltage to eke out every last frame per second.
Samsung
- Samsung Laptops: Press F2 on Galaxy Books and older Samsung notebooks.
- Samsung Chromebooks: Press Esc + Refresh + Power to enter Recovery, then use Ctrl + D to enable Developer Mode (not exactly BIOS, but close).
Samsung laptops are rare in the BIOS world, but they still follow the F2 norm. Chromebooks, meanwhile, live in a separate universe—tinkering there involves Developer Mode, which is more for Linux hackers than BIOS tweakers.
Toshiba
- Laptops & Satellite Series: Tap F2 as soon as you see the Toshiba logo.
- Desktops (if any): Use F2 or ESC → F1 sequence on older models.
Toshiba’s BIOS screens feel nostalgically retro. If F2 doesn’t work, reboot and try hitting F12 or ESC to bring up a boot menu—older Satellites sometimes like to hide their BIOS behind a menu.
Microsoft Surface
- Surface Pro, Surface Laptop, Surface Book: Hold Volume Up button immediately after powering on.
- Alternate: Connect a Type Cover (if detached) and press F2 during start if using an external keyboard.
Surface devices eschew conventional BIOS keys. Instead, Volume Up acts as your ticket to UEFI. If you miss it, you’ll likely find yourself in Windows again—so be fast, like a ninja.
Gigabyte (Custom-Built PCs)
- Motherboards (Aorus, Ultra Durable, etc.): Press DEL or F2 repeatedly on power-up.
Gigabyte motherboards are ubiquitous in custom rigs. DEL is usually the key, but if that fails, try F2. Once inside Gigabyte’s App Center BIOS, you’ll see settings for RGB Fusion, Smart Fan Control, and all kinds of neat tweaks. Proceed with caution—one wrong click, and you might trigger your PC’s Glow-in-the-Dark mode permanently.
ASRock (Custom Builds)
- Motherboards (Phantom Gaming, Taichi, etc.): Tap DEL to access the BIOS.
- Alternate: Some models respond to F2.
ASRock systems often hide behind the DEL key as well. Their BIOS is pretty straightforward, with a friendly EZ Mode. If you’re shipping a new custom build, and ASRock is your brand of choice, DEL is your friend. Press it once, breathe, and adjust those XMP profiles.
EVGA (Custom Builds)
- Motherboards (FTW, Classified, etc.): Press DEL for BIOS entry.
EVGA’s BIOS interface is minimalist but powerful. DEL will get you into the BIOS where you can fiddle with overclocking options and voltage settings; just remember that EVGA loves to warn you not to fry your CPU—take it seriously.
Custom or Boutique PCs
- Generic/Unbranded: Try DEL, F2, or F10.
- Hackintosh Projects: Usually F2 or DEL, but good luck—these can be finicky.
If you’ve built a PC from scratch or bought a boutique system without a recognizable brand, DEL is the most reliable bet. If one key fails, reboot and try another. Eventually, you’ll see that glorious BIOS screen—or a blank one, in which case you might have bigger problems (like no monitor cable).
Conclusion
Accessing BIOS on any PC or laptop brand no longer needs to feel like deciphering ancient hieroglyphics. Whether you’re rocking a Dell desktop, toting a Lenovo ThinkPad, or rocking a custom ASUS motherboard, this guide has armed you with the keystrokes needed to breach the BIOS walls. Remember:
- Dell & Acer: F2 (and F12 for Boot Menu).
- HP: F10 (or Esc → F10).
- Lenovo: F1 (Think line) or F2 (Idea line).
- ASUS: DEL (desktops) or F2 (laptops).
- MSI: DEL (most models).
- Apple: Option (⌥) or Cmd+R for Recovery.
- Razer: F1 or F12.
- Samsung & Toshiba: F2 (occasionally F12 or ESC first).
- Microsoft Surface: Hold Volume Up.
- Gigabyte/ASRock/EVGA (Custom PCs): DEL (sometimes F2).
Next time your PC refuses to boot or you want to tinker with advanced settings, refer back to this guide. And if you find yourself pressing keys randomly (like you’re playing Whack-a-Mole), remember: gentle, consistent taps win the race.
Happy BIOS-ing!

 FoxDoo Technology


