VMware ESXi 8.0 and vCenter Server 8.0 deployment represents the modern foundation for virtualized infrastructure, blending a streamlined hypervisor with a powerful management plane. Whether consolidating on-premises workloads, preparing for hybrid-cloud expansion, or exploring containerized integrations, this guide delivers professional insights and actionable best practices to ensure a resilient architecture.
Understanding the Platform Architecture
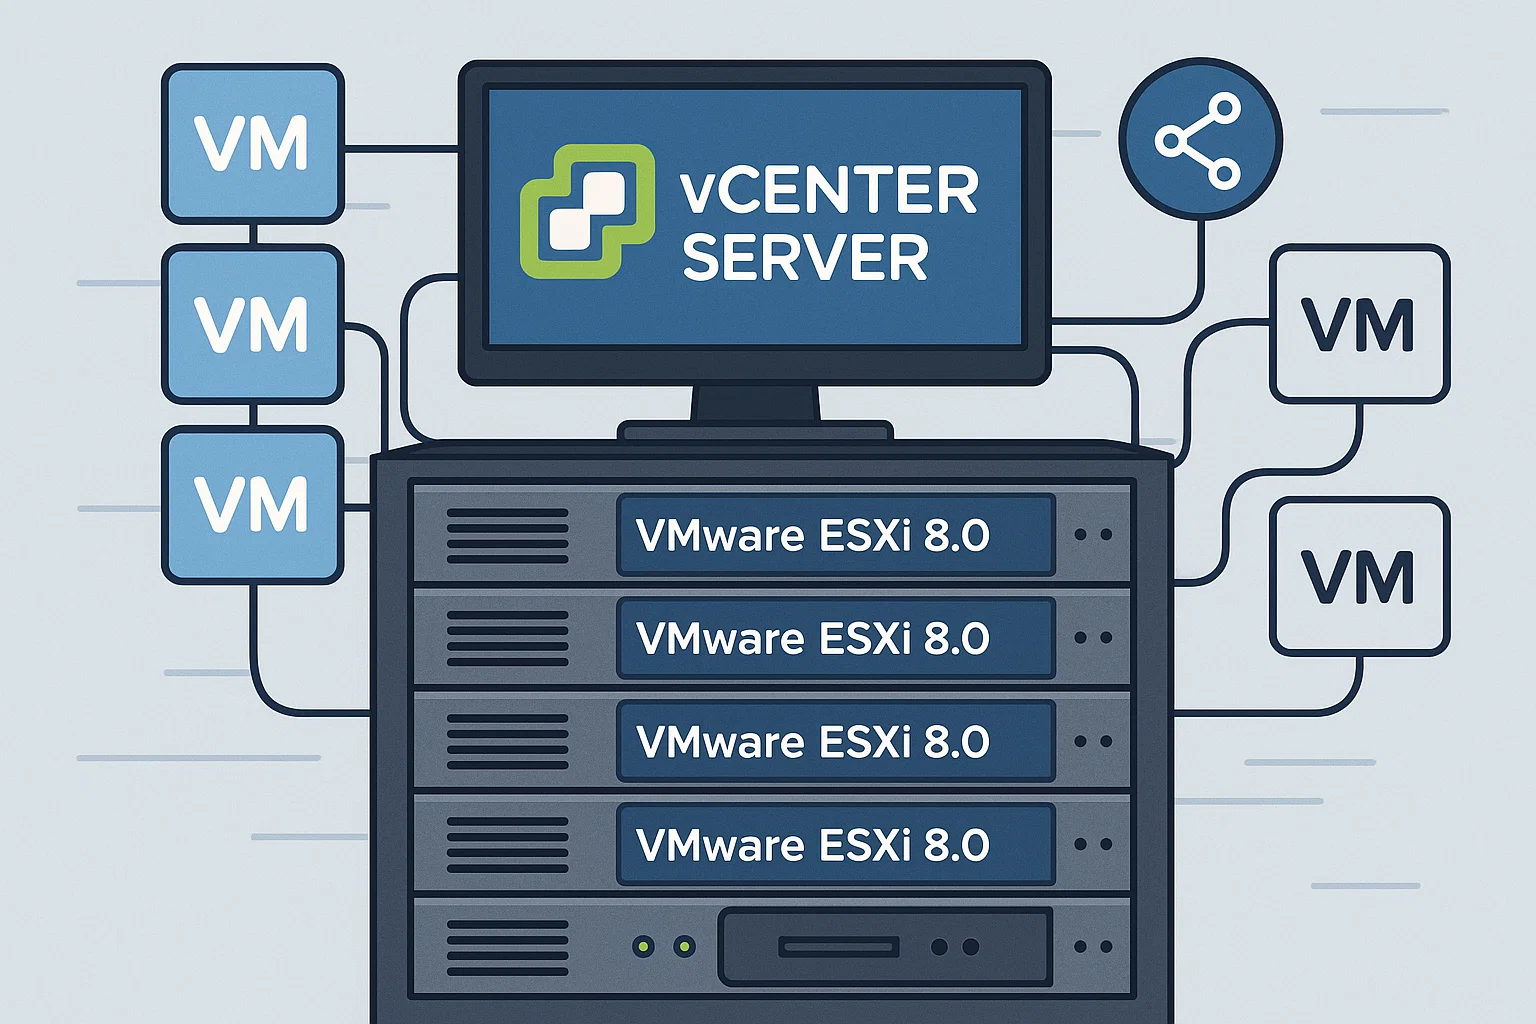
At its core, VMware ESXi 8.0 is a bare-metal hypervisor that installs directly onto server hardware—no underlying OS is required—minimizing attack surface and resource overhead. In contrast, vCenter Server 8.0 serves as the centralized management platform, orchestrating advanced features like vMotion, Distributed Resource Scheduler (DRS), High Availability (HA), and streamlined lifecycle management.
Planning Your Infrastructure
Successful deployment begins with capacity and compatibility planning. Verify that your CPU lineup supports Intel VT-x or AMD-V with Extended Page Tables (EPT) and Second Level Address Translation (SLAT) to optimize memory virtualization. Aim for dual 10 GbE NICs (or faster) dedicated to management and vMotion traffic, and consider NVMe-based storage for latency-sensitive workloads. When designing for scale, factor in headroom for future node additions and cluster-wide features like vSAN or VMware Cloud.
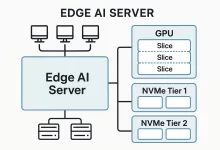
Edge deployments are increasingly common: lightweight ESXi hosts at remote sites can operate autonomously, syncing back to a central vCenter when connectivity allows. Version 8.0’s refined installer and embedded scripting hooks make remote provisioning via Kickstart or PXE simpler, reducing travel and manual hours.
Performing the ESXi 8.0 Installation
Download the VMware-VMvisor-Installer-8.0U3e-*.iso and create bootable media. At boot, accept the license agreement, choose the installation target—ideally a mirrored SSD array for performance and redundancy—and define a strong root password stored securely (e.g., HashiCorp Vault).
- Default menu settings guide hardware compatibility checks and driver selection automatically.
- Press F11 to confirm and launch the installer; reboot when complete.
- After initial boot, use the DCUI (Direct Console User Interface) to finalize network settings.
For large rollouts, customize your ISO with vendor VIBs (e.g., NIC or storage drivers) and automate unattended installations using a Kickstart configuration file. This approach ensures all hosts boot with identical profiles and prevents configuration drift.
Post-Installation Configuration
Access the DCUI’s “Configure Management Network” menu to:
- Enable static IPv4 addressing; enter your IP, netmask, and gateway.
- Set custom DNS servers and search domains to ensure reliable name resolution.
- Update the host’s FQDN (e.g.,
esxi01.acme.local) to simplify certificate trust and monitoring.
To scale, capture this configuration in a Host Profile and apply it across multiple hosts via the vSphere Client or PowerCLI, enforcing consistency and accelerating compliance audits.
Deploying the vCenter Server Appliance
Mount the VMware-VCSA-all-8.0.3-*.iso on an admin workstation and launch vcsa-ui-installer. The two-stage wizard covers:
- Stage 1: Deploy the appliance VM to an ESXi host. Choose a sizing profile—Tiny (up to 10 hosts), Small (11–100), etc.—based on your environment.
- Stage 2: Configure networking, SSO domain (
vsphere.localdefault), NTP servers, and root credentials. For production, point NTP to your internal time authority to prevent certificate or Kerberos issues.
Embedded Platform Services Controller (PSC) simplifies management. If you have an external PSC, plan migrations carefully to minimize SSO disruptions.
Adding Hosts and Building Your Cluster
Log in to the vSphere Client at https://vcsa-fqdn/ui. Under your Data Center object:
- Create a Cluster and enable DRS and HA to automate workload balancing and failover.
- Select “Add Host,” supply the ESXi host’s FQDN/IP and credentials, and trust the host’s SSL thumbprint.
- Assign hosts to consistent port groups, datastores, and resource pools for policy-driven management.
Implement Storage Policy-Based Management (SPBM) to tie VM storage requirements—performance tiers, RAID levels, encryption—to automated datastore selection.
Advanced Automation & Security Hardening
Once your core infrastructure is online, streamline operations with automation:
- Use PowerCLI scripts or Ansible playbooks to provision VMs, configure networks, and enforce Role-Based Access Control (RBAC).
- Integrate Terraform modules for infrastructure-as-code, capturing your entire stack—from cluster configuration to individual VM resources.
- Leverage vRealize Orchestrator for complex workflows (e.g., snapshot → patch → cleanup) and expose them as REST endpoints for external toolchains.
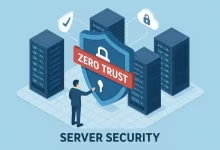
On the security front, enable VM Encryption and Key Management Services (KMS) integration, automate certificate rotation via the vCenter Certificate Manager, and adopt the VMware Hardening Guide using nightly compliance scans. This “shift-left” approach ensures drift is detected and corrected before it becomes an incident.
Ongoing Maintenance and Scalability
To maintain operational health:
- Schedule rolling upgrades with vSphere Lifecycle Manager, organizing hosts into baselines that reflect patch, firmware, and VIB levels.
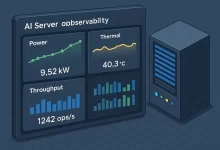
- Monitor performance via vCenter’s native dashboards and export
esxtoplogs (`esxtop –b > /tmp/esxtop.csv`) for long-term trend analysis. - Regularly test Disaster Recovery (DR) plans using Site Recovery Manager (SRM) or third-party tools to validate RPO and RTO commitments.
As demands grow, introduce VMware Cloud Foundation or VMware Cloud on AWS to seamlessly extend capacity. Embrace predictive DRS and VMware Skyline proactive recommendations to preempt configuration or compatibility issues at scale.
Conclusion
Deploying VMware ESXi 8.0 alongside vCenter Server 8.0 establishes a future-proof virtualization platform—one that scales from edge nodes to hyperscale data centers. By marrying detailed installation guidance with professional automation, security, and lifecycle best practices, you’ll achieve operational consistency, robust performance, and simplified governance. The next frontier is extending this foundation into container orchestration with Tanzu and cloud-native services, empowering your organization to innovate without limits.